Explore the Archive

Narrow by decade, suburb, or image type — or combine them and see what surfaces.

991 works of 1102
Sydney city street with tram tracks and clock tower — photograph, from Sydney, c. 1920–53
photograph·1937

Sydney city street with tram tracks and clock tower, c. 1920–53

Hood Collection part II, Box 077, nos. 099-146 : Church of England; City streets; Hubert Opperman, bicycle; Irene Purcell and Zane Grey; St Mary's Cathedral; William Street; Fun map of Sydney; Portraits; GroupsSam Hood
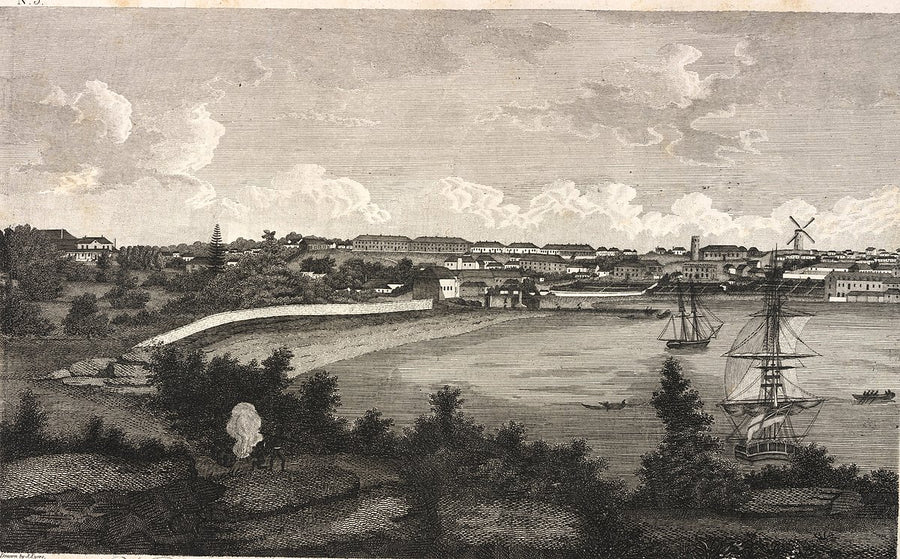
Sydney Cove from Bennelong Point — illustration, from Bennelong Point / Dubbagullee, 1812–13
illustration·1813·Sydney CBD

Sydney Cove from Bennelong Point, 1812–13

Views in New South Wales, 1812-1814 [and] Historical account of the colony of New South WalesRudolph Ackermann; Richard Browne; J. Eyre; Philip Slaeger; James Wallis; Absalom West
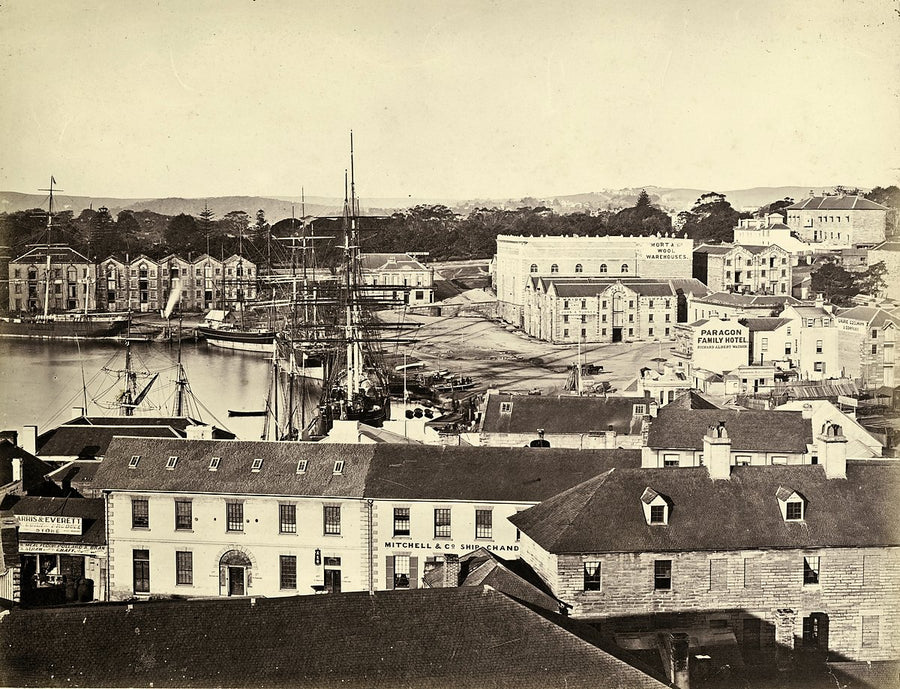
Sydney Cove from George Street, with Mort & Co. wool warehouses and shipping — photograph, from Sydney Cove, c. 1876
photograph·1876·Sydney Cove

Sydney Cove from George Street, with Mort & Co. wool warehouses and shipping, c. 1876

Sydney Cove
Sydney Cove with shipping and a careened vessel, after John Skinner Prout — illustration, from Sydney Cove, 1848
illustration·1870·Sydney Cove

Sydney Cove with shipping and a careened vessel, after John Skinner Prout, 1848

Views of Old SydneyCharles Bayliss; Freeman Brothers; John Rae (original drawings)
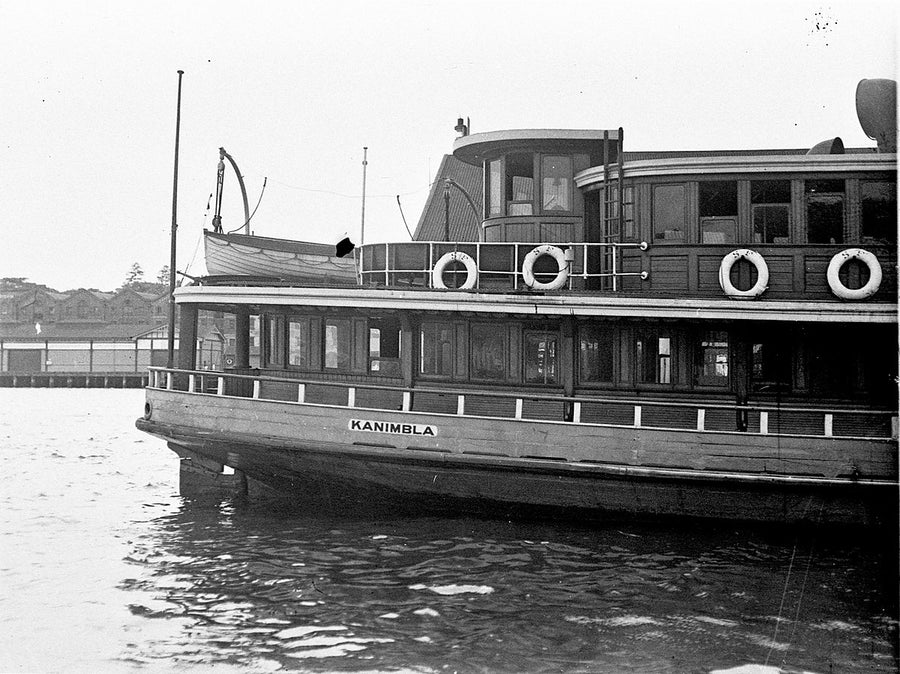
Sydney ferry Kanimbla berthed at a harbour wharf — photograph, from Sydney, 1934
photograph·1934

Sydney ferry Kanimbla berthed at a harbour wharf, 1934

Sydney ferry "Kanimbla"Ted Hood
Sydney from Dawes's Point — illustration, from Dawes Point, 1812
illustration·1813·Dawes Point

Sydney from Dawes's Point, 1812

Views in New South Wales, 1812-1814 [and] Historical account of the colony of New South WalesRudolph Ackermann; Richard Browne; J. Eyre; Philip Slaeger; James Wallis; Absalom West
Sydney from Dawes's Point, engraved for Absalom West — illustration, from Dawes Point, 1812
illustration·1813·Dawes Point

Sydney from Dawes's Point, engraved for Absalom West, 1812

Views in New South Wales, 1812-1814 [and] Historical account of the colony of New South WalesRudolph Ackermann; Richard Browne; J. Eyre; Philip Slaeger; James Wallis; Absalom West
Sydney Grammar rugby players gathered on the field — photograph, from Sydney CBD, 1954
photograph·1954·Sydney CBD

Sydney Grammar rugby players gathered on the field, 1954

Sydney Grammar, June 1954
Sydney Grammar School chemistry class — photograph, from Sydney Grammar School, 1954
photograph·1954·Darlinghurst

Sydney Grammar School chemistry class, 1954

Sydney Grammar, June 1954
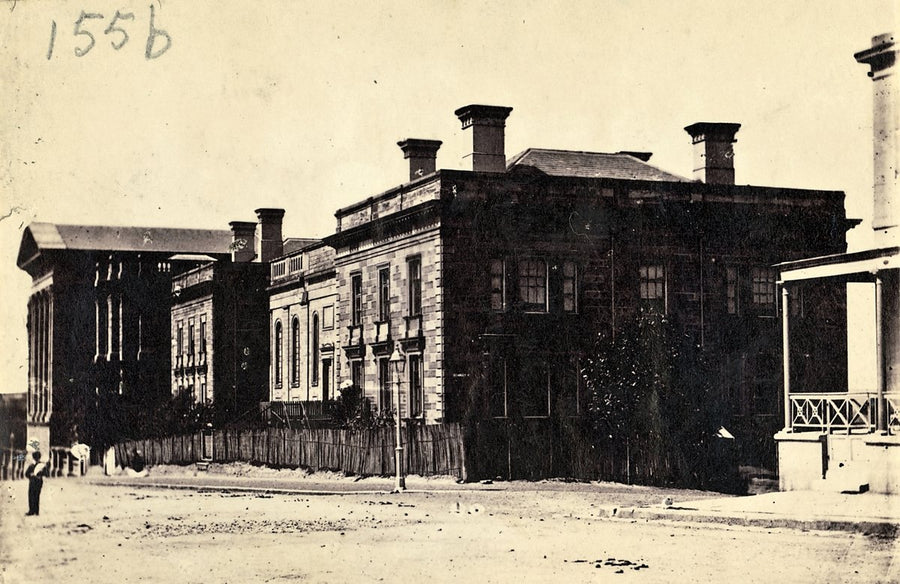
Sydney Grammar School, College Street — photograph, from College Street, 1870
photograph·1870·Sydney CBD

Sydney Grammar School, College Street, 1870

Sydney Grammar School, College Street, Sydney
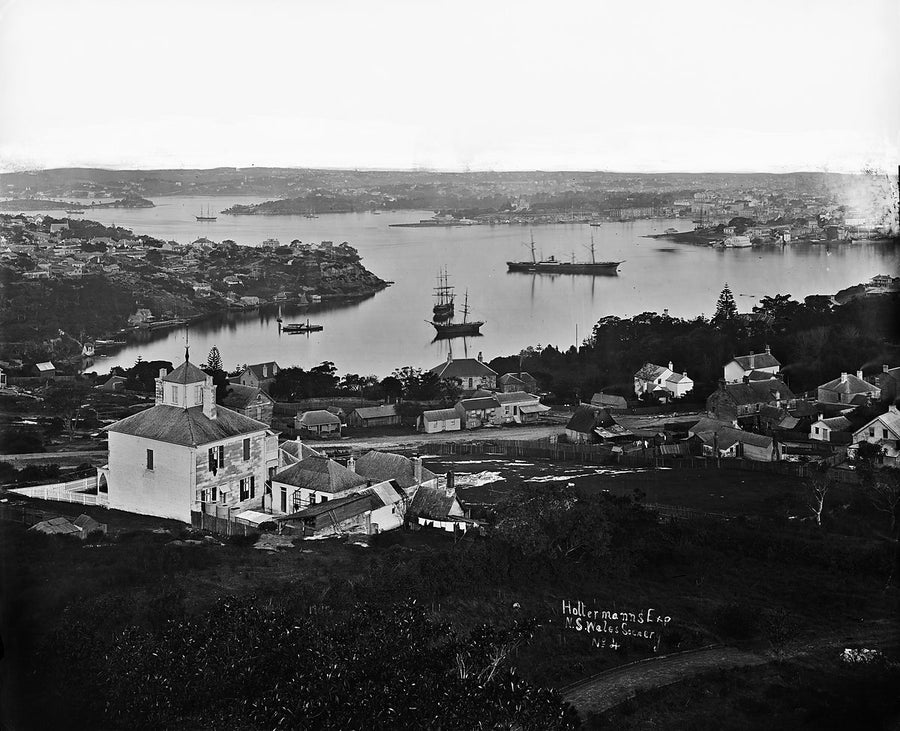
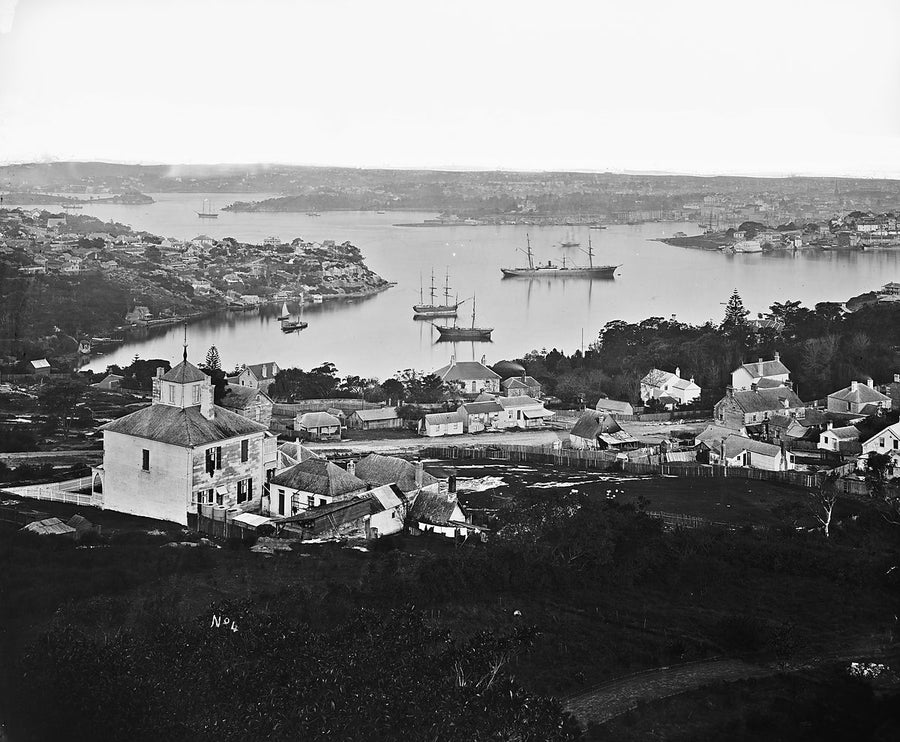
Sydney Harbour and Lavender Bay from Holtermann's house — photograph, from Lavender Bay, 1870–75
photograph·1870·Lavender Bay

Sydney Harbour and Lavender Bay from Holtermann's house, 1870–75

The Gap, South Head (?)American & Australasian Photographic Company
Sydney Harbour and the city from the air, before the Harbour Bridge — photograph, from Royal Botanic Garden, c. 1920–38
photograph·1920·Sydney CBD

Sydney Harbour and the city from the air, before the Harbour Bridge, c. 1920–38

Milton Kent aerial views of SydneyMilton Kent
Sydney harbour bay with moored boats, seen past Norfolk Island pines — photograph, from Sydney, 1950
photograph·1950

Sydney harbour bay with moored boats, seen past Norfolk Island pines, 1950

Sydney
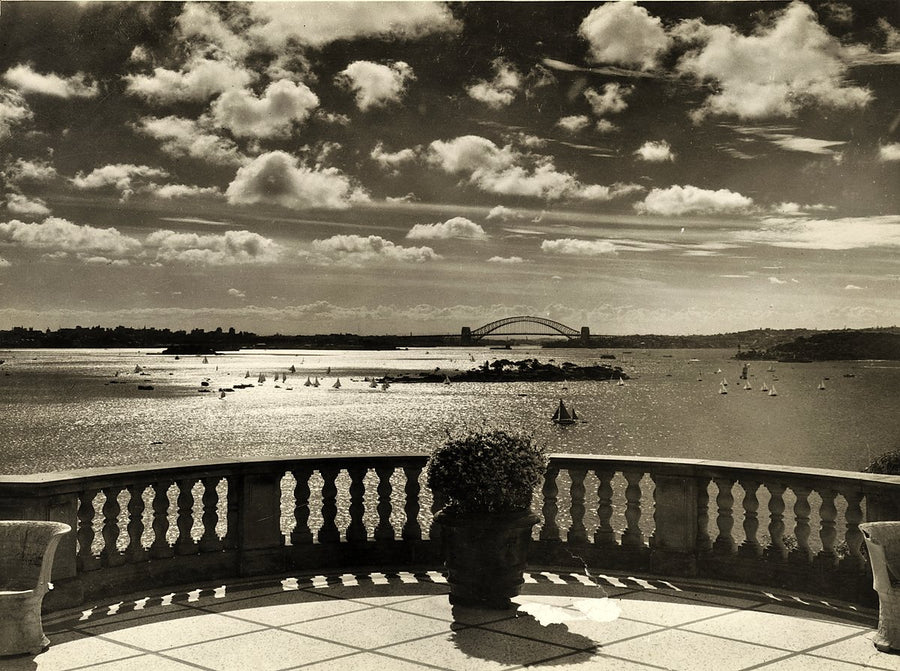
Sydney Harbour Bridge across Port Jackson from a garden terrace — photograph, from Sydney, c. 1932–50
photograph·1935

Sydney Harbour Bridge across Port Jackson from a garden terrace, c. 1932–50

Hood Collection part II : [Foreshores: Sydney Harbour, rivers, lakes and waterways; beachesSam Hood
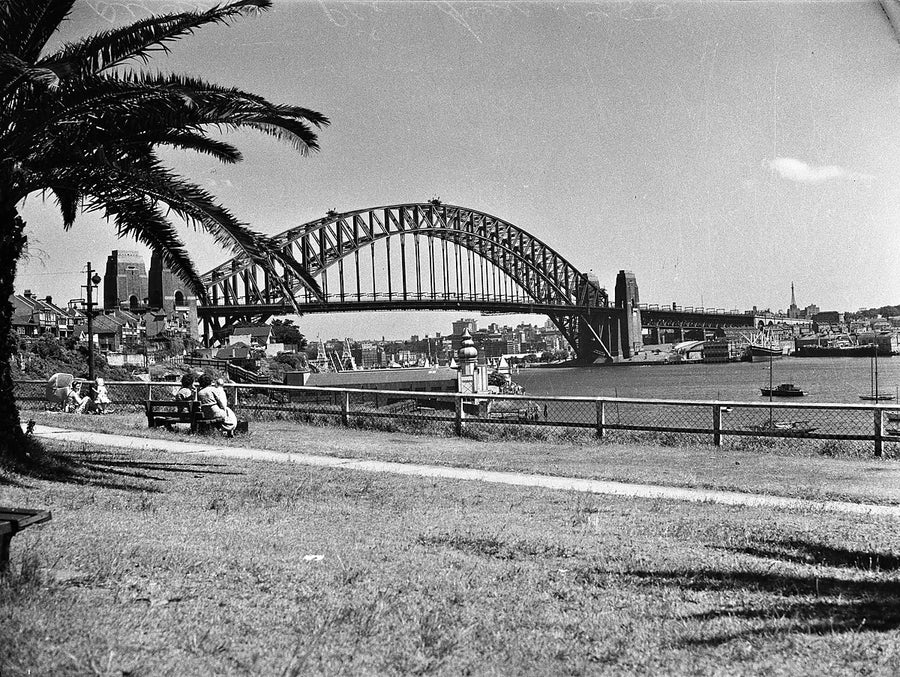
Sydney Harbour Bridge across the water from a foreshore park — photograph, from Sydney Harbour Bridge, 1950
photograph·1950·Dawes Point

Sydney Harbour Bridge across the water from a foreshore park, 1950

Sydney
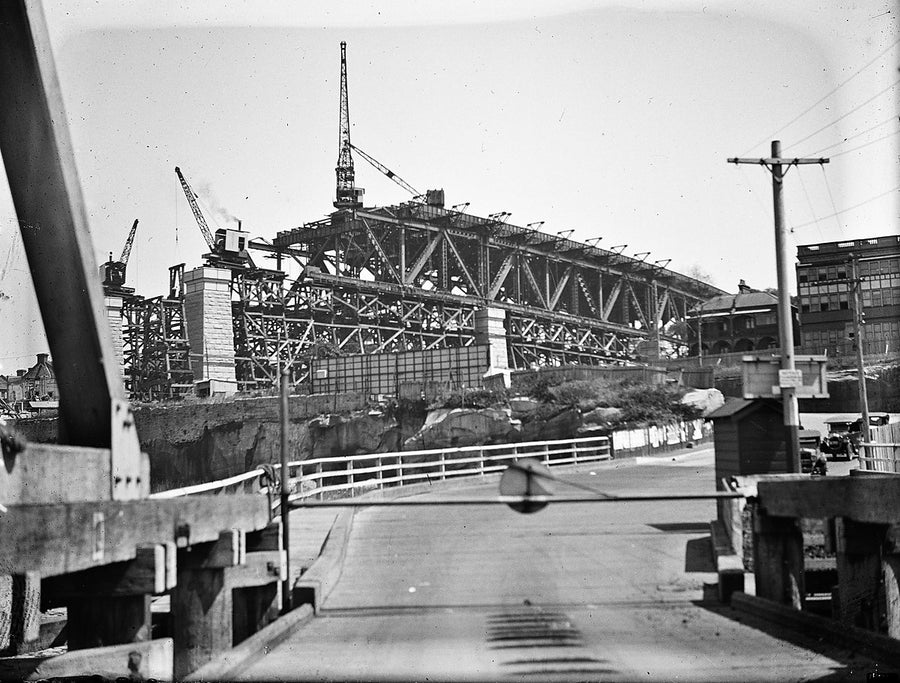
Sydney Harbour Bridge approach spans under construction — photograph, from Sydney Harbour Bridge, 1923–42
photograph·1923·Milsons Point

Sydney Harbour Bridge approach spans under construction, 1923–42

State Library NSWSam Hood
Sydney Harbour Bridge arch almost complete, seen from the North Shore — photograph, from Sydney Harbour Bridge, c. 1931
photograph·1931·Milsons Point

Sydney Harbour Bridge arch almost complete, seen from the North Shore, c. 1931

State Library NSWSam Hood
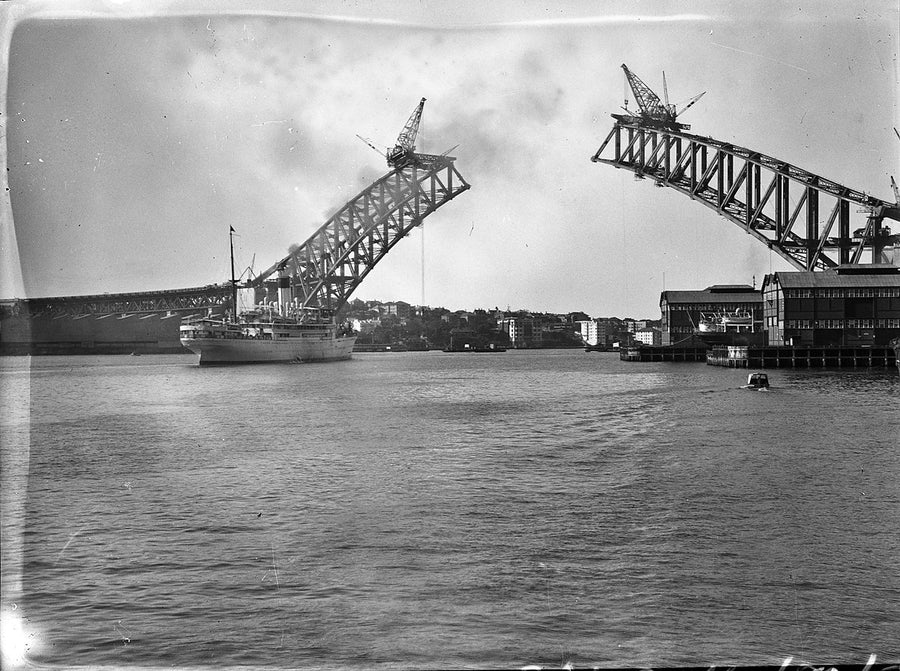
Sydney Harbour Bridge arch arms before joining — photograph, from Sydney Harbour Bridge, 1930
photograph·1950·Milsons Point

Sydney Harbour Bridge arch arms before joining, 1930

Hood Collection part II, Box 080, nos. 001-029 : Harbour Bridge; Corner store bread war; Mosman Rowing Club; Pyrmont Bridge accident; Circular Quay; Broderick School; Imported beer and liquor; Bare IslandSam Hood
Sydney Harbour Bridge arch halves before joining — photograph, from Milsons Point, 1930–50
photograph·1950·Milsons Point

Sydney Harbour Bridge arch halves before joining, 1930–50

Hood Collection part II, Box 080, nos. 001-029 : Harbour Bridge; Corner store bread war; Mosman Rowing Club; Pyrmont Bridge accident; Circular Quay; Broderick School; Imported beer and liquor; Bare IslandSam Hood
Sydney Harbour Bridge arch nearing completion — photograph, from Milsons Point, 1930
photograph·1928·Milsons Point

Sydney Harbour Bridge arch nearing completion, 1930

Hood Collection part II, Box 044, nos. 053-068; Box 46, nos. 001-009 : Sydney Harbour Bridge constructionSam Hood
Sydney Harbour Bridge arch nearing completion — photograph, from Milsons Point, 1930
photograph·1950·Milsons Point

Sydney Harbour Bridge arch nearing completion, 1930

Hood Collection part II, Box 080, nos. 001-029 : Harbour Bridge; Corner store bread war; Mosman Rowing Club; Pyrmont Bridge accident; Circular Quay; Broderick School; Imported beer and liquor; Bare IslandSam Hood
Sydney Harbour Bridge arch under construction, aerial view over Circular Quay — photograph, from Sydney, c. 1928–30
photograph·1927

Sydney Harbour Bridge arch under construction, aerial view over Circular Quay, c. 1928–30

Hood Collection part II, Box 022, nos. 001-019 : Airmen, personalities, pilots (including women pilots) and aeroplanes, MascotSam Hood
Sydney Harbour Bridge arch under construction — photograph, from Milsons Point, c. 1930
photograph·1930·Milsons Point

Sydney Harbour Bridge arch under construction, c. 1930

Hood Collection part II, Box 016, nos. 018-029 : Pitt Street south from King Street; Sydney Harbour Bridge under constructionSam Hood
Sydney Harbour Bridge before the arch halves met — photograph, from Sydney Harbour Bridge, 1930
photograph·1930·Dawes Point

Sydney Harbour Bridge before the arch halves met, 1930

Sydney Harbour Bridge, S.S. Neiun Holland passing under Southern arch, April 1930Star Photo Co.
Sydney Harbour Bridge from Lavender Bay, with electric trains in the railway yards — photograph, from Lavender Bay, 1950
photograph·1950·Lavender Bay

Sydney Harbour Bridge from Lavender Bay, with electric trains in the railway yards, 1950

Sydney
Sydney Harbour Bridge from Mosman — photograph, from Mosman, 1930–36
photograph·1930·Mosman

Sydney Harbour Bridge from Mosman, 1930–36

Mrs Margaret Rose Preston, January 1930 (at Mosman) and 1936Harold Cazneaux
Sydney Harbour Bridge under construction, the arch nearly joined — photograph, from Sydney Harbour Bridge, 1930
photograph·1928·Milsons Point

Sydney Harbour Bridge under construction, the arch nearly joined, 1930

Hood Collection part II, Box 044, nos. 053-068; Box 46, nos. 001-009 : Sydney Harbour Bridge constructionSam Hood
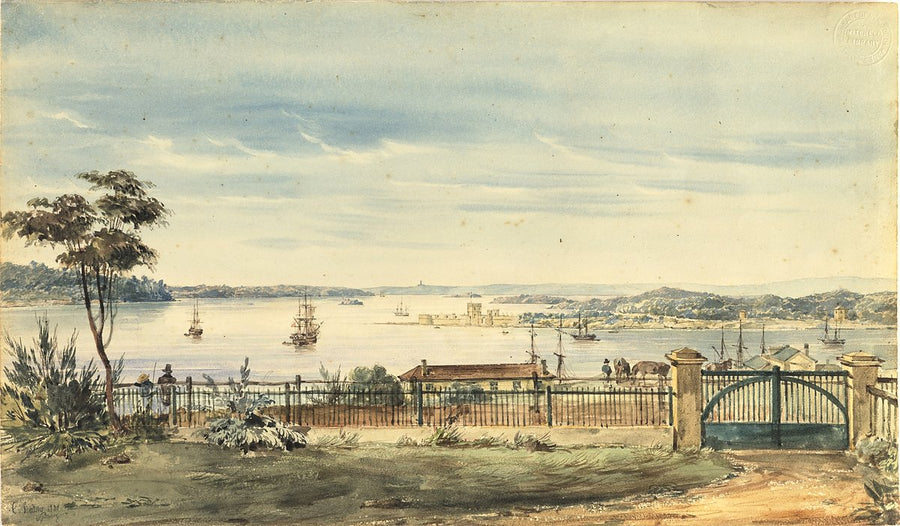
Sydney Harbour from Bunker's Hill — illustration, from Bunkers Hill, 1831
illustration·1831·The Rocks

Sydney Harbour from Bunker's Hill, 1831

Sydney, 1831 [View of Sydney Harbour from the grounds of Cumberland Place, Bunker's Hill, west side of Sydney CoveCharles Rodius
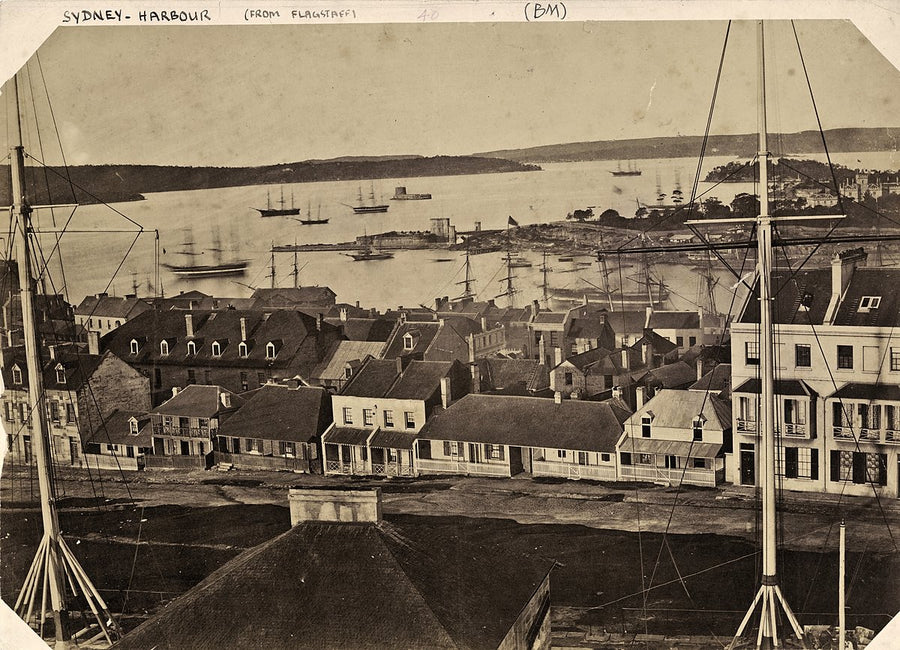
Sydney Harbour from Flagstaff Hill, with Fort Denison at centre — photograph, from Observatory Hill Park, before 1870
photograph·1870·Millers Point

Sydney Harbour from Flagstaff Hill, with Fort Denison at centre, before 1870

Sydney Harbour from Flagstaff Hill
Sydney Harbour from Holtermann's house, Lavender Bay — photograph, from Lavender Bay, 1875
photograph·1870·Lavender Bay

Sydney Harbour from Holtermann's house, Lavender Bay, 1875

The Gap, South Head (?)American & Australasian Photographic Company
Sydney Harbour from Mr Blacket's house, Glebe — illustration, from Glebe, 1861
illustration·1861·Glebe

Sydney Harbour from Mr Blacket's house, Glebe, 1861

View from Mr Blacket'sConrad Martens
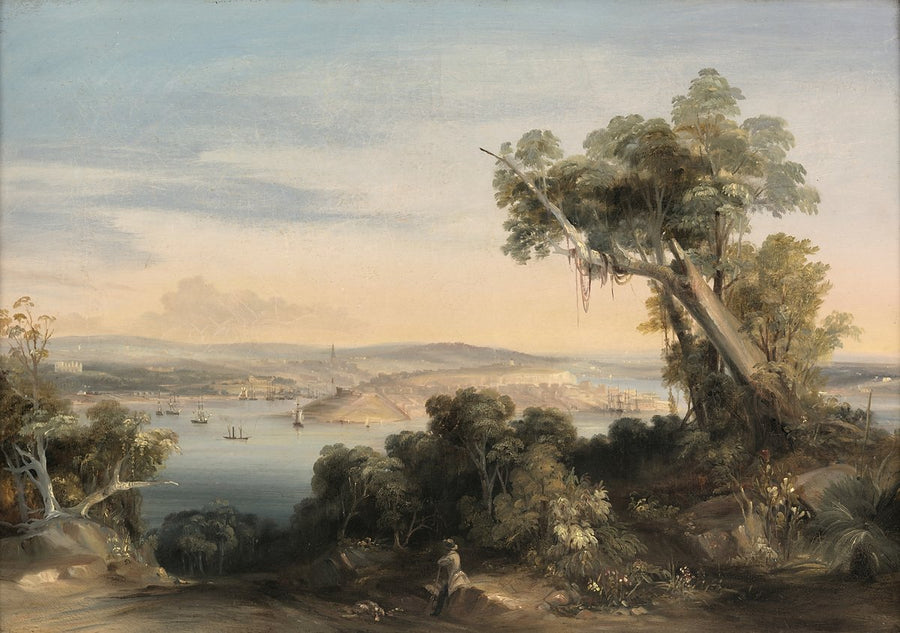
Sydney Harbour from the North Shore — illustration, from Sydney, c. 1840
illustration·1840

Sydney Harbour from the North Shore, c. 1840

Sydney from the North Shore, ca. 1840 / [oil painting attributed to Conrad MartensConrad Martens
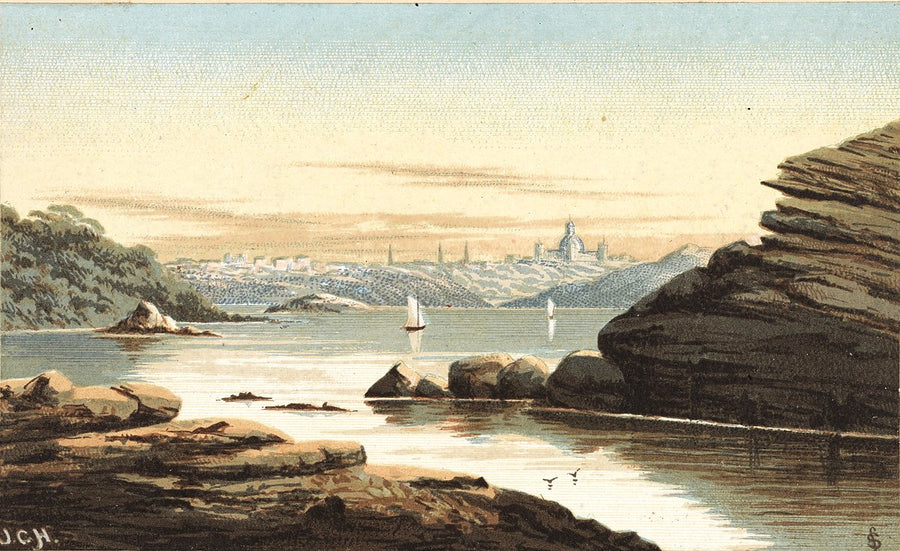
Sydney Harbour from Watsons Bay, with the Garden Palace on the skyline — illustration, from Watsons Bay, c. 1880
illustration·1880·Watsons Bay

Sydney Harbour from Watsons Bay, with the Garden Palace on the skyline, c. 1880

Sydney from Watson's Bay, [a view], ca. 1880 / drawn on stone by S. Sedgfield from a painting by J. C. HoyteS. Sedgfield
Sydney Harbour waterfront from McMahon's Point — photograph, from McMahons Point, c. 1879–89
photograph·1879·McMahons Point

Sydney Harbour waterfront from McMahon's Point, c. 1879–89

Mort family - Photographs of Sydney & N. S. Wales [ca. 1879-1889Charles Bayliss; Kerry & Jones
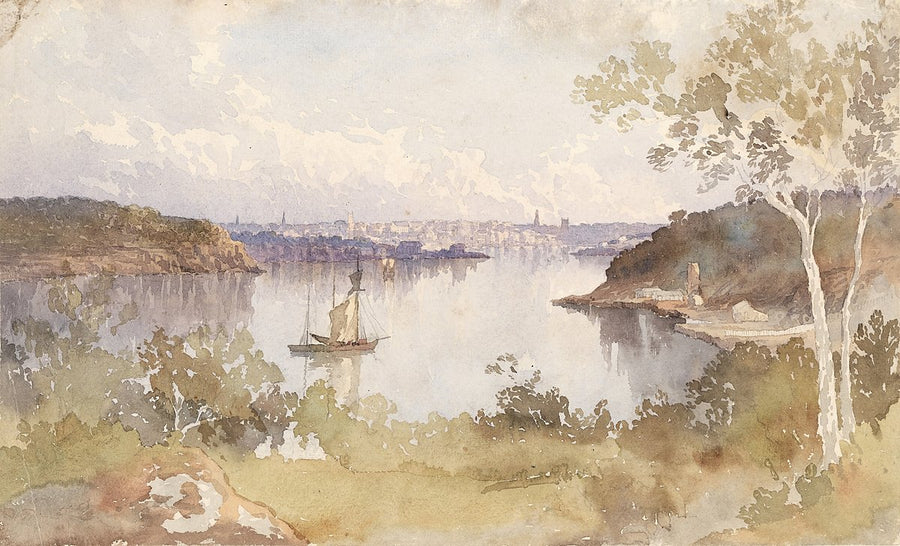
Sydney Harbour with a sailing vessel and a distant city skyline — illustration, from Sydney, 1862–1902
illustration·1862

Sydney Harbour with a sailing vessel and a distant city skyline, 1862–1902

Collection of views of Sydney, and Wales, 1862-1902 / drawn by W. C. PiguenitW. C. Piguenit
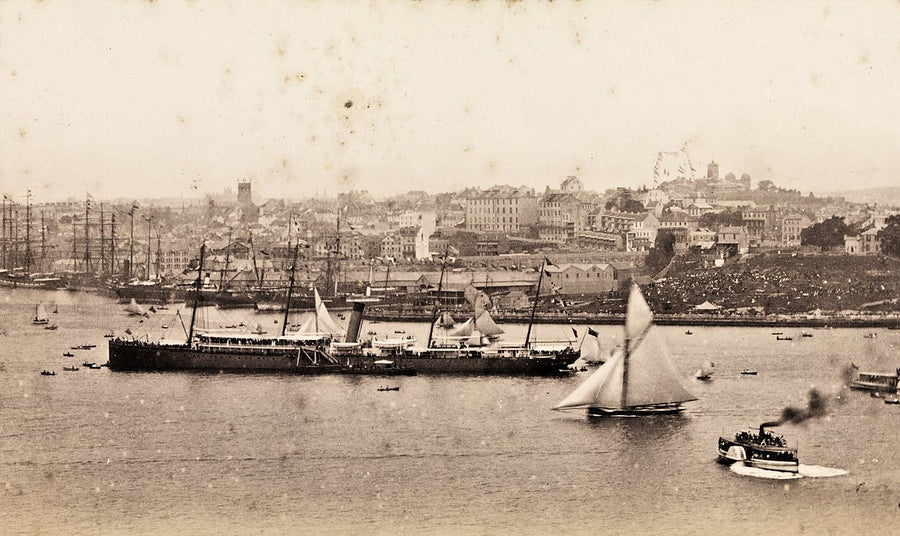
Sydney harbour with warehouses and sailing ships — photograph, from Sydney, c. 1879
photograph·1870

Sydney harbour with warehouses and sailing ships, c. 1879

Views of Old SydneyCharles Bayliss; Freeman Brothers; John Rae (original drawings)
Sydney in 1853: hand-coloured plan of the city and its wards — map, from Sydney
map·1870

Sydney in 1853: hand-coloured plan of the city and its wards

Plan of the city of Sydney 1870
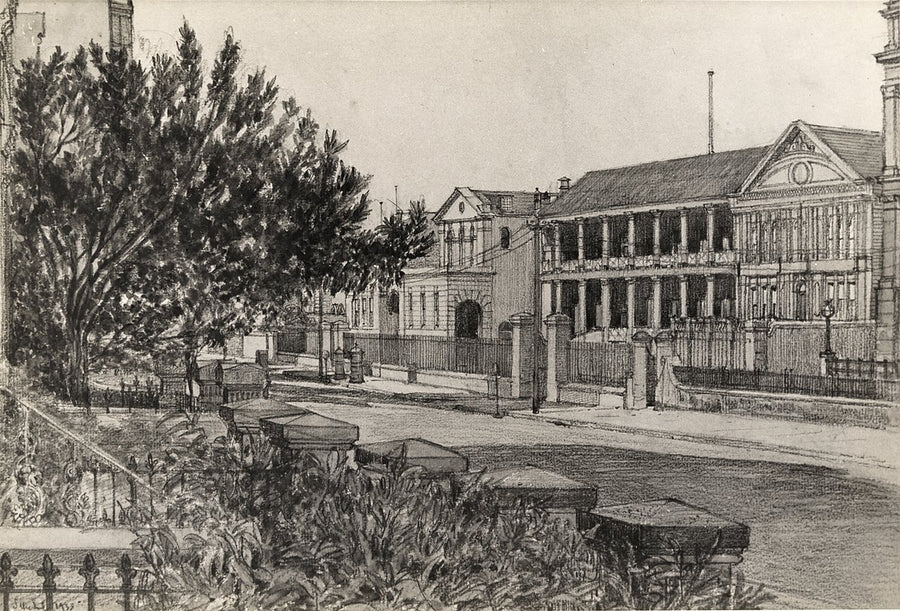
Sydney Mint colonnade, Macquarie Street — illustration, from The Mint, c. 1900–49
illustration·1949·Sydney CBD

Sydney Mint colonnade, Macquarie Street, c. 1900–49

Sketches, etchings, copy photographs of watercolours etc., and personal photographsSydney Ure Smith
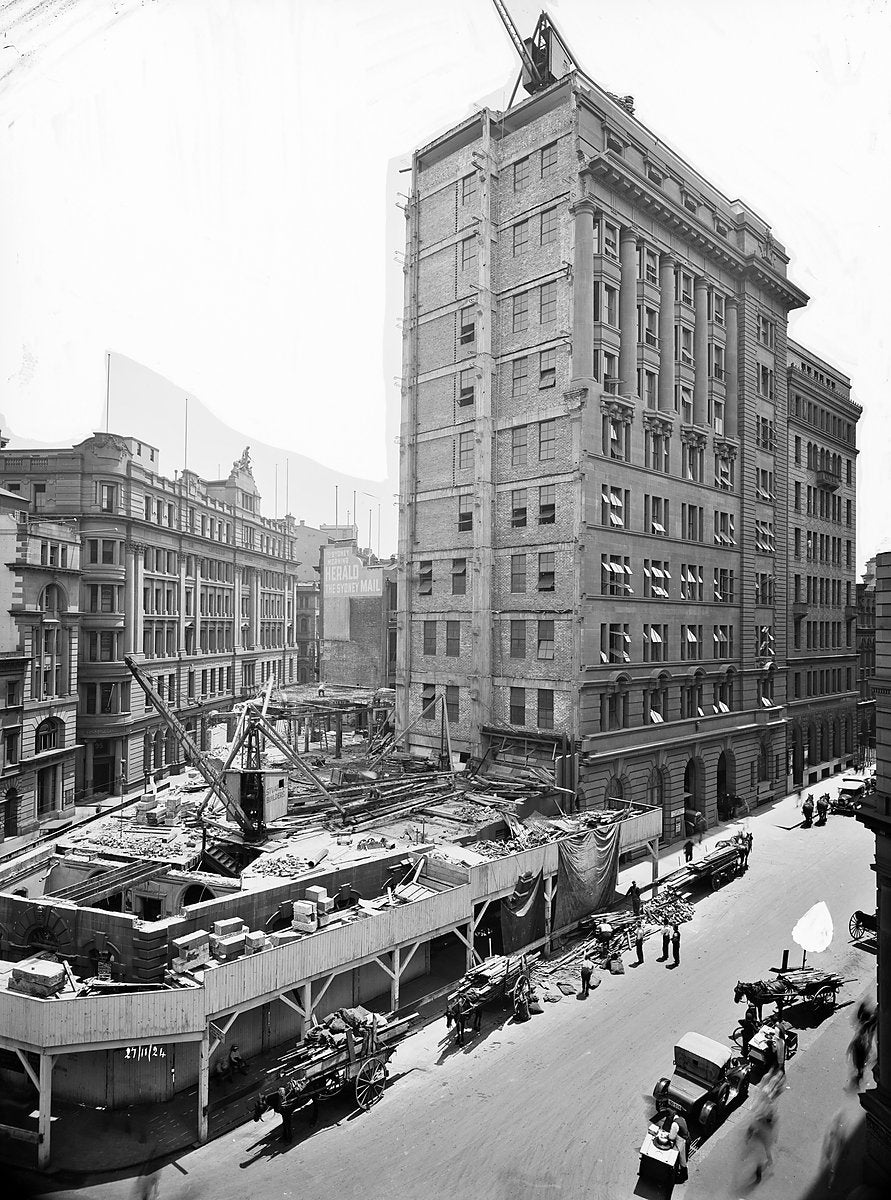
Sydney Morning Herald offices under construction, Pitt and O'Connell Streets — photograph, from Pitt Street, c. 1924–27
photograph·1924·Sydney CBD

Sydney Morning Herald offices under construction, Pitt and O'Connell Streets, c. 1924–27

State Library NSWArthur Ernest Foster
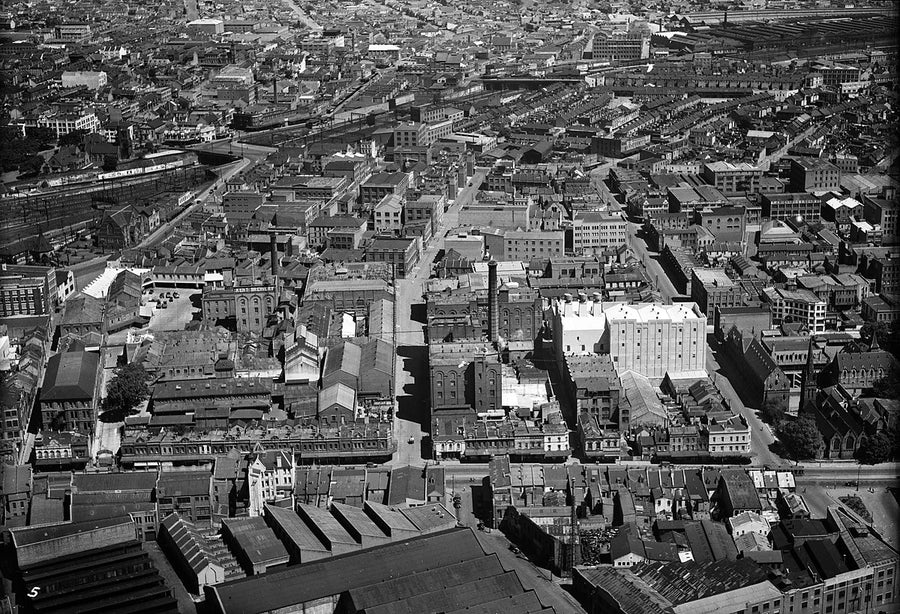
Sydney rooftops and railway yards from the air — photograph, from Sydney, c. 1940
photograph·1940

Sydney rooftops and railway yards from the air, c. 1940

Milton Kent aerial views of Arncliffe, Broadmeadow, Rosebery, Sydney, WaterlooMilton Kent
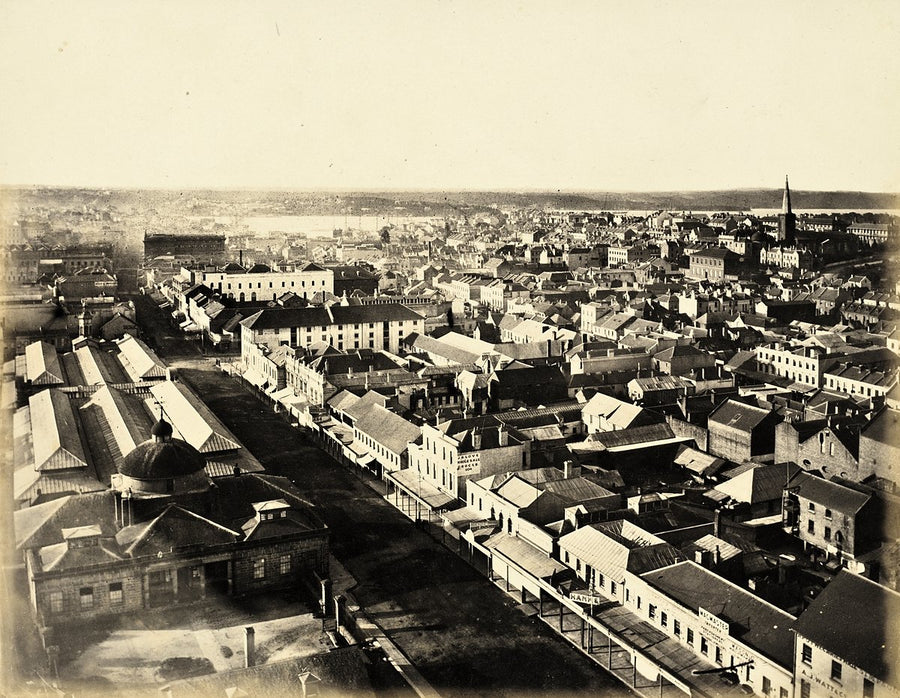
Sydney rooftops from the Town Hall clocktower — photograph, from Sydney Town Hall, 1873
photograph·1873·Sydney CBD

Sydney rooftops from the Town Hall clocktower, 1873

Panorama of Sydney taken from Sydney Town HallFrancis W. Robinson
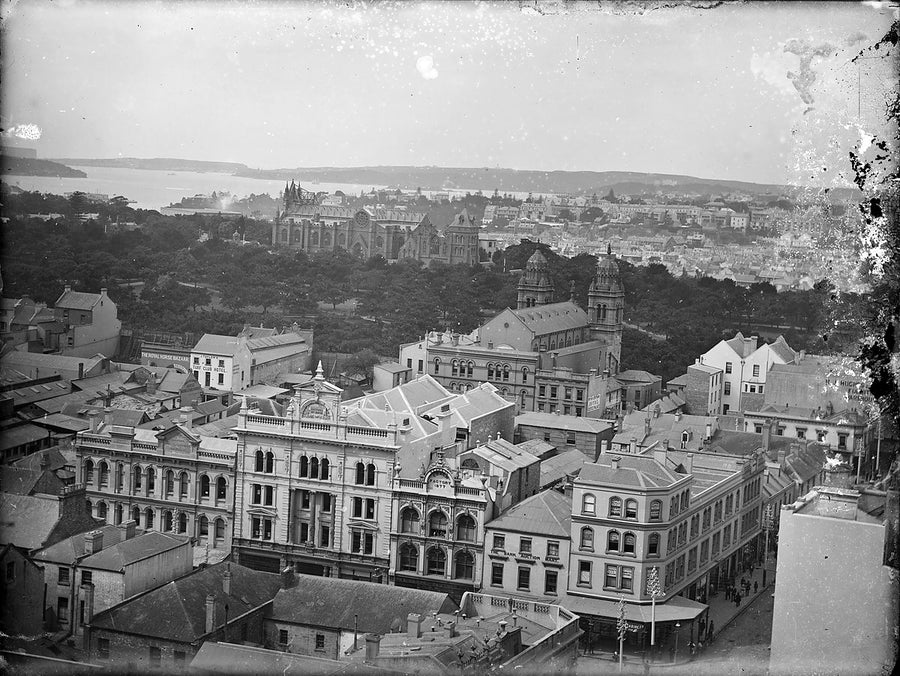
Sydney rooftops looking to St Mary's Cathedral — photograph, from St Mary's Cathedral, 1890–1910
photograph·1890·Sydney CBD

Sydney rooftops looking to St Mary's Cathedral, 1890–1910

Glass negatives including views of Wynyard Park, Circular Quay, and Pitt Street, SydneyWilliam Joseph Macpherson
Sydney rooftops with Bank of New South Wales signage — photograph, from Sydney CBD, 1951
photograph·1951

Sydney rooftops with Bank of New South Wales signage, 1951

Sydney streets, August 1951
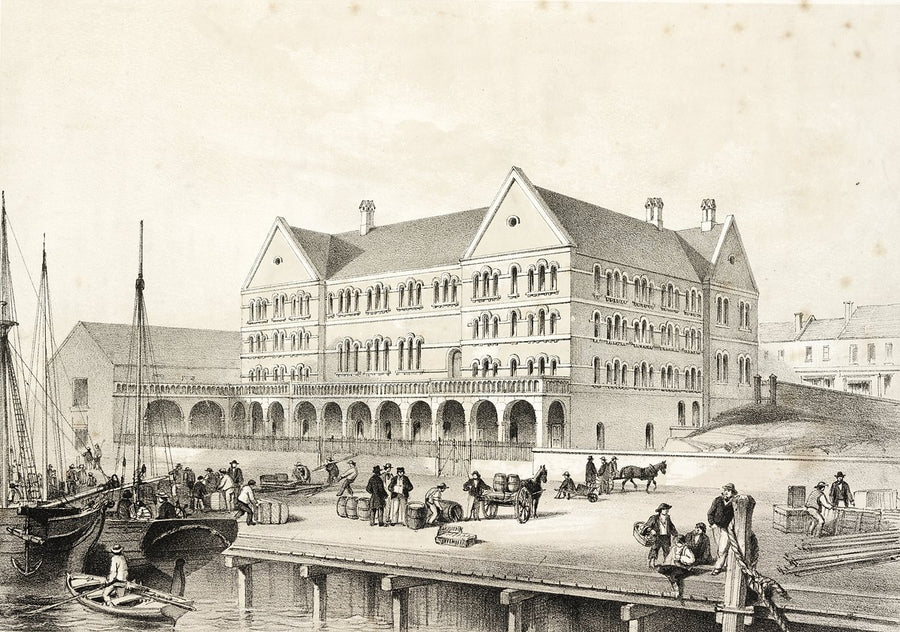
Sydney Sailors' Home seen from the harbour wharf — illustration, from The Rocks
illustration·1859·The Rocks

Sydney Sailors' Home seen from the harbour wharf

Sydney Sailors' Home [lithographEdmund Thomas; Allan & Wigley
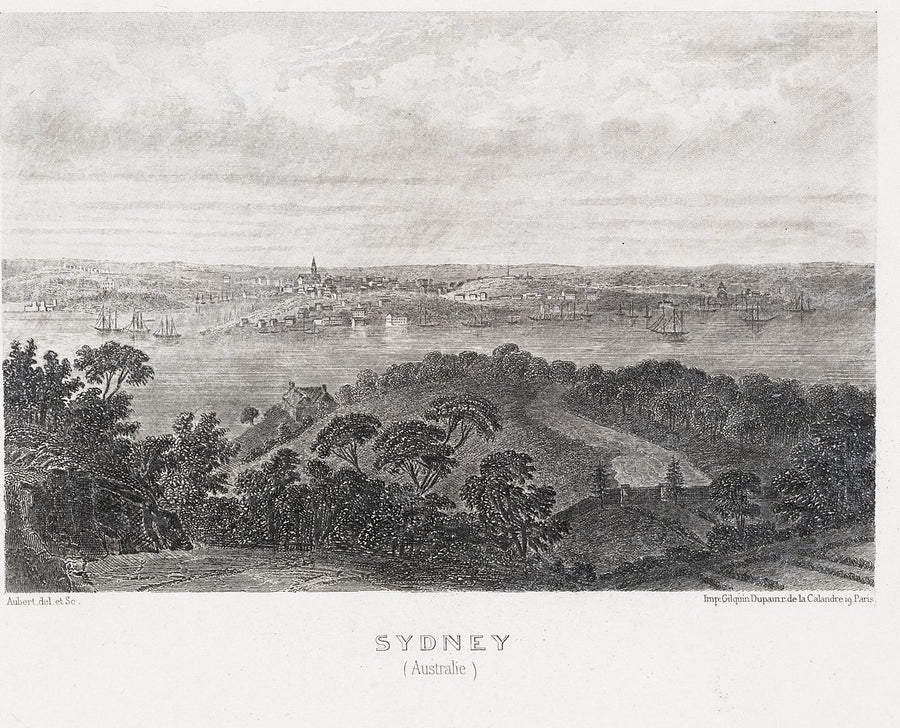
Sydney seen across the harbour, lithograph by Aubert — illustration, from Sydney, c. 1843
illustration·1843

Sydney seen across the harbour, lithograph by Aubert, c. 1843

Sydney (Australie), 1843? / AubertAubert
Sydney skyline across Darling Harbour from Pyrmont — photograph, from Pyrmont, c. 1875–78
photograph·1875·Pyrmont

Sydney skyline across Darling Harbour from Pyrmont, c. 1875–78

City of Sydney [from PyrmontJ. R. Clarke
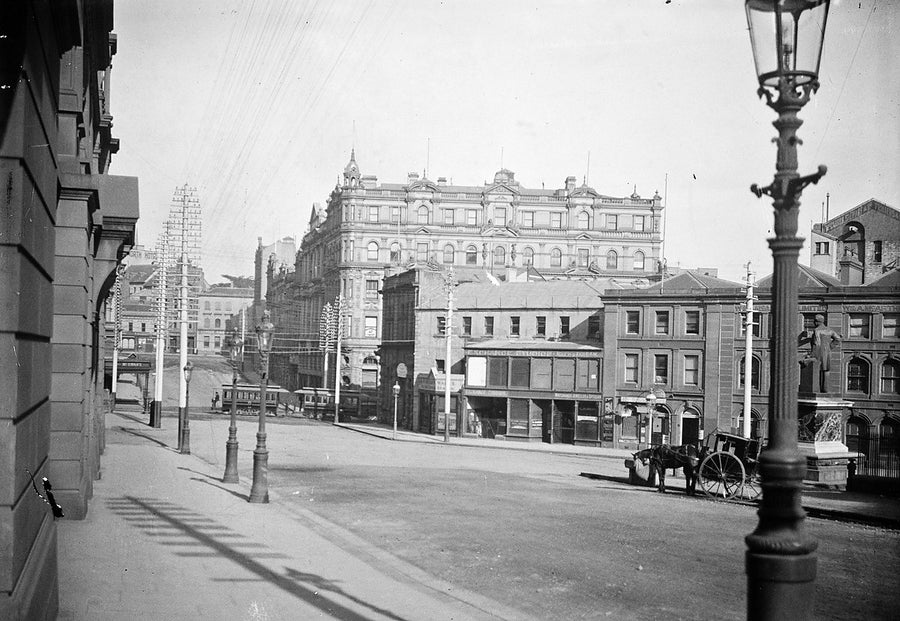
Sydney street with tram, horse-drawn cart and public statue — photograph, from Sydney, c. 1900–10
photograph·1900

Sydney street with tram, horse-drawn cart and public statue, c. 1900–10

Royal Australian Historical Society : photonegativesRoyal Australian Historical Society