Explore the Archive

Narrow by decade, suburb, or image type — or combine them and see what surfaces.

231 works of 1102
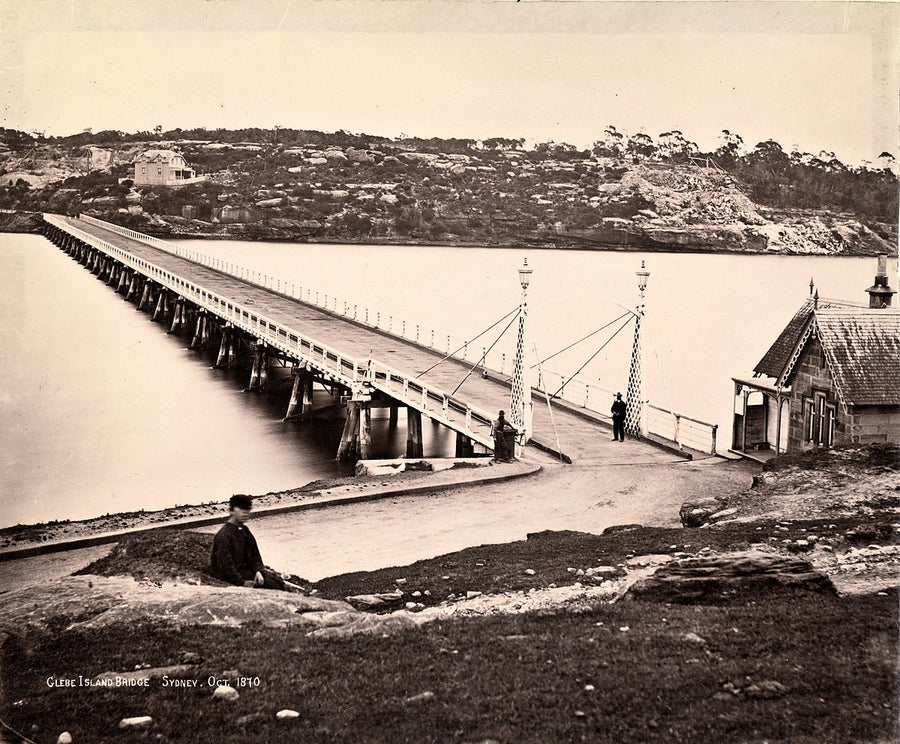
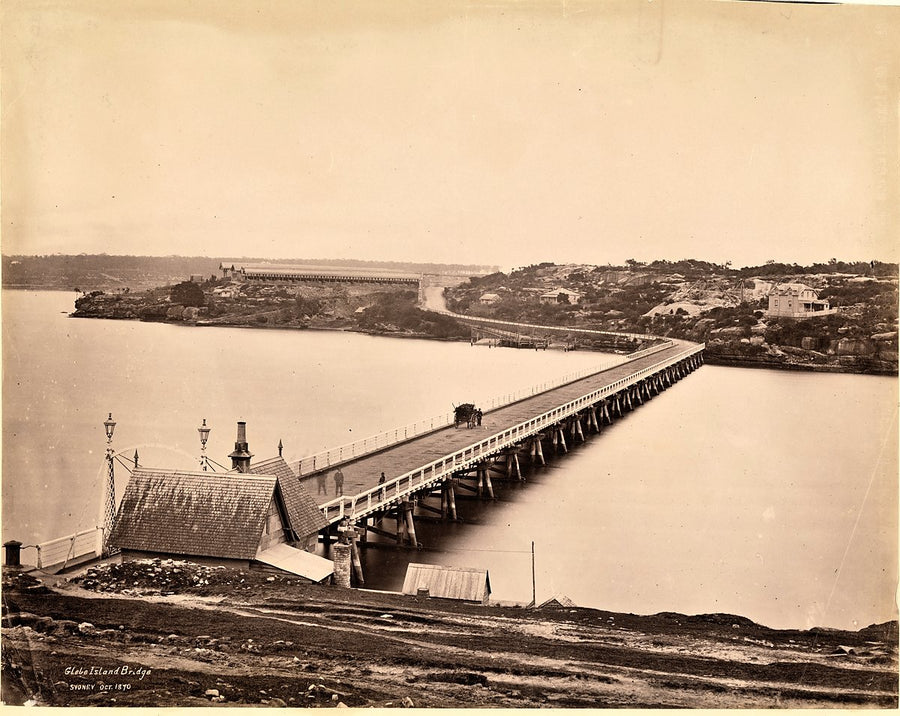
First Glebe Island Bridge across Johnstons Bay — photograph, from Glebe Island Bridge, 1870
photograph·1870·Pyrmont

First Glebe Island Bridge across Johnstons Bay, 1870

Glebe Island Bridge, Sydney, Oct 1870Charles Percy Pickering
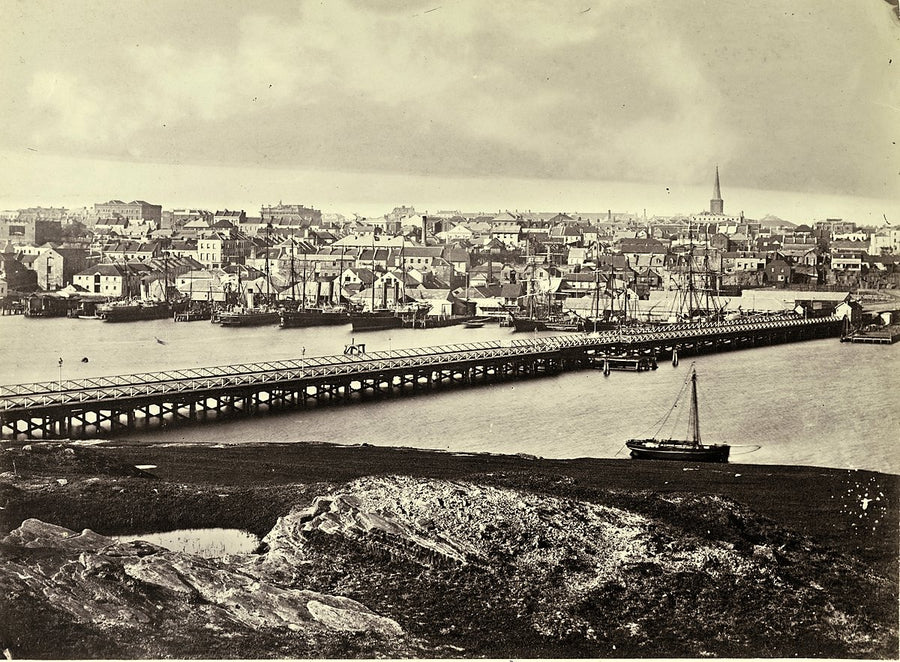
First Pyrmont Bridge, Darling Harbour — photograph, from Pyrmont Bridge, c. 1870s
photograph·1870·Sydney CBD

First Pyrmont Bridge, Darling Harbour, c. 1870s

Pyrmont Bridge, Darling Harbour, Sydney
Fort Macquarie from Pinchgut, Sydney Harbour — illustration, from Potts Point, c. 1850
illustration·1850·Potts Point

Fort Macquarie from Pinchgut, Sydney Harbour, c. 1850

Fort Macquarie from Pinchgut / watercolour by Frederick GarlingFrederick Garling
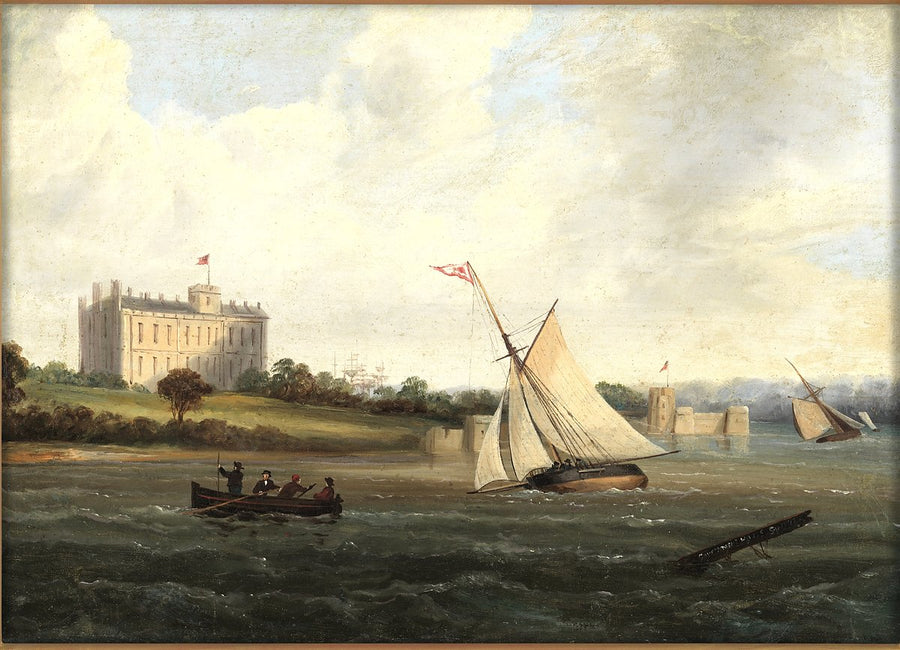
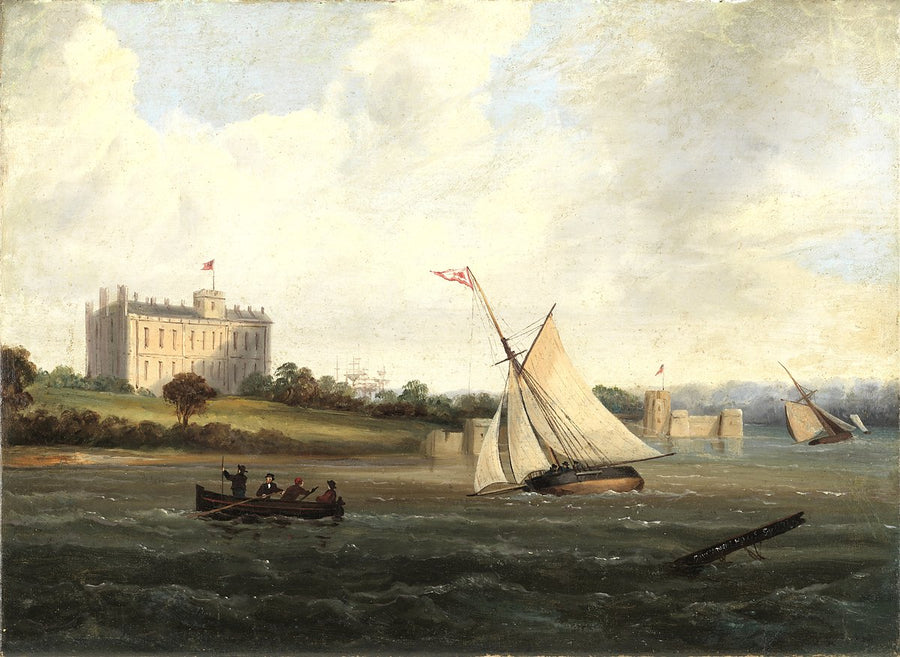
Fort Macquarie seen across the water, Sydney — illustration, from Bennelong Point / Dubbagullee, 1825–30
illustration·1827·Sydney CBD

Fort Macquarie seen across the water, Sydney, 1825–30

Fort Macquarie, Sydney] ; [View of Sydney Harbour] / [attributed to Lady Eliza DarlingDarling, Eliza, Lady, 1798-1867
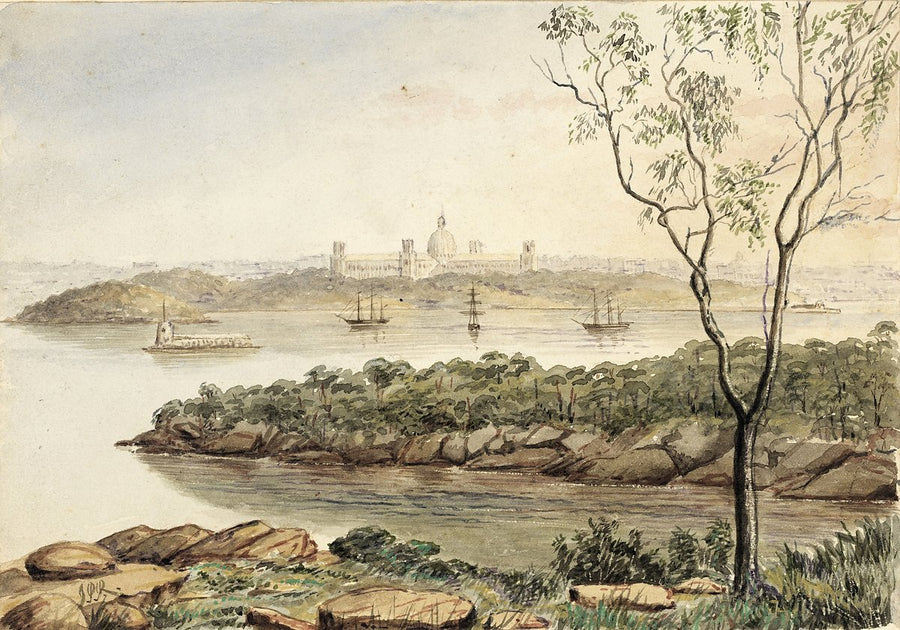
Garden Palace across Sydney Harbour from North Shore — illustration, from The Domain, c. 1880
illustration·1880·Sydney CBD

Garden Palace across Sydney Harbour from North Shore, c. 1880

The Garden Palace Exhibition from North Shore [a view, including Fort Denison], ca. 1880 / J. P. RJ. P. R.
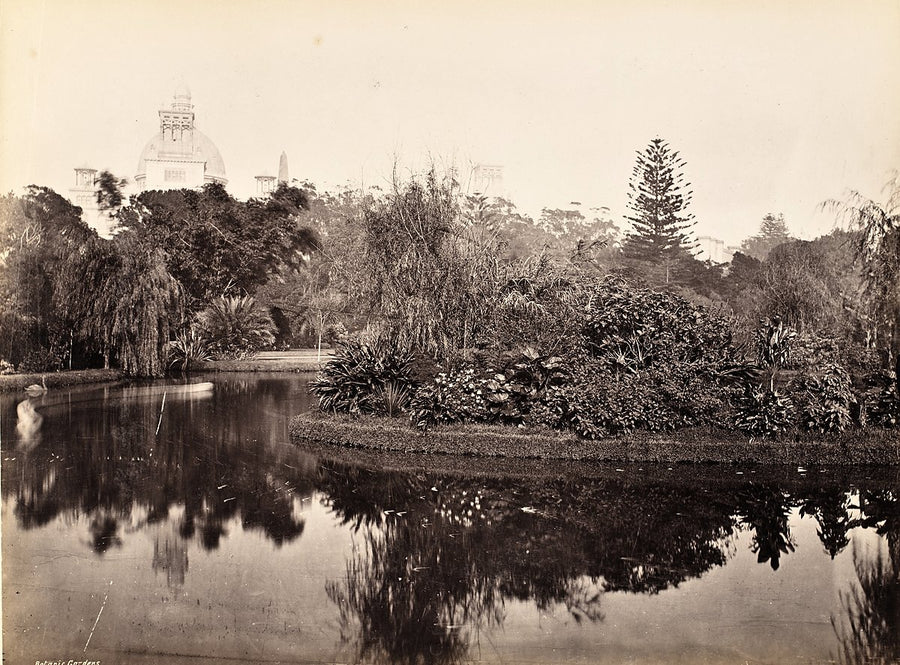
Garden Palace dome above a pond in Sydney's Botanic Gardens — photograph, from Royal Botanic Garden, c. 1879–90
photograph·1870·Sydney CBD

Garden Palace dome above a pond in Sydney's Botanic Gardens, c. 1879–90

Views of Old SydneyCharles Bayliss; Freeman Brothers; John Rae (original drawings)
Garden Palace from the Botanic Gardens lawns, Sydney — photograph, from The Garden Palace, 1879–82
photograph·1880·Sydney CBD

Garden Palace from the Botanic Gardens lawns, Sydney, 1879–82

View of Garden Palace looking west-south-west from Lawn 34, Botanic Gardens, Sydney
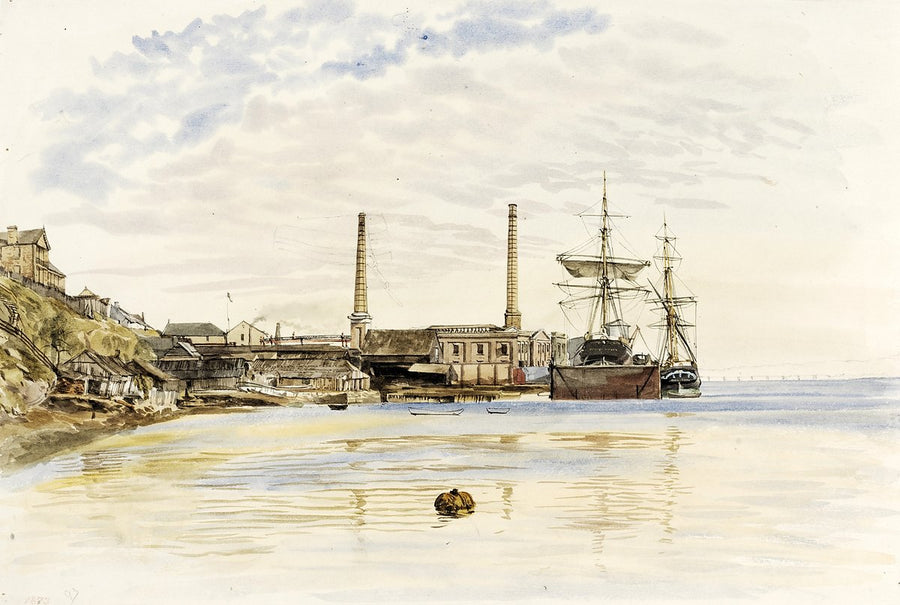
Gas Works, Millers Point — illustration, from Millers Point, 1873
illustration·1862·Millers Point

Gas Works, Millers Point, 1873

Views of SydneySamuel Elyard
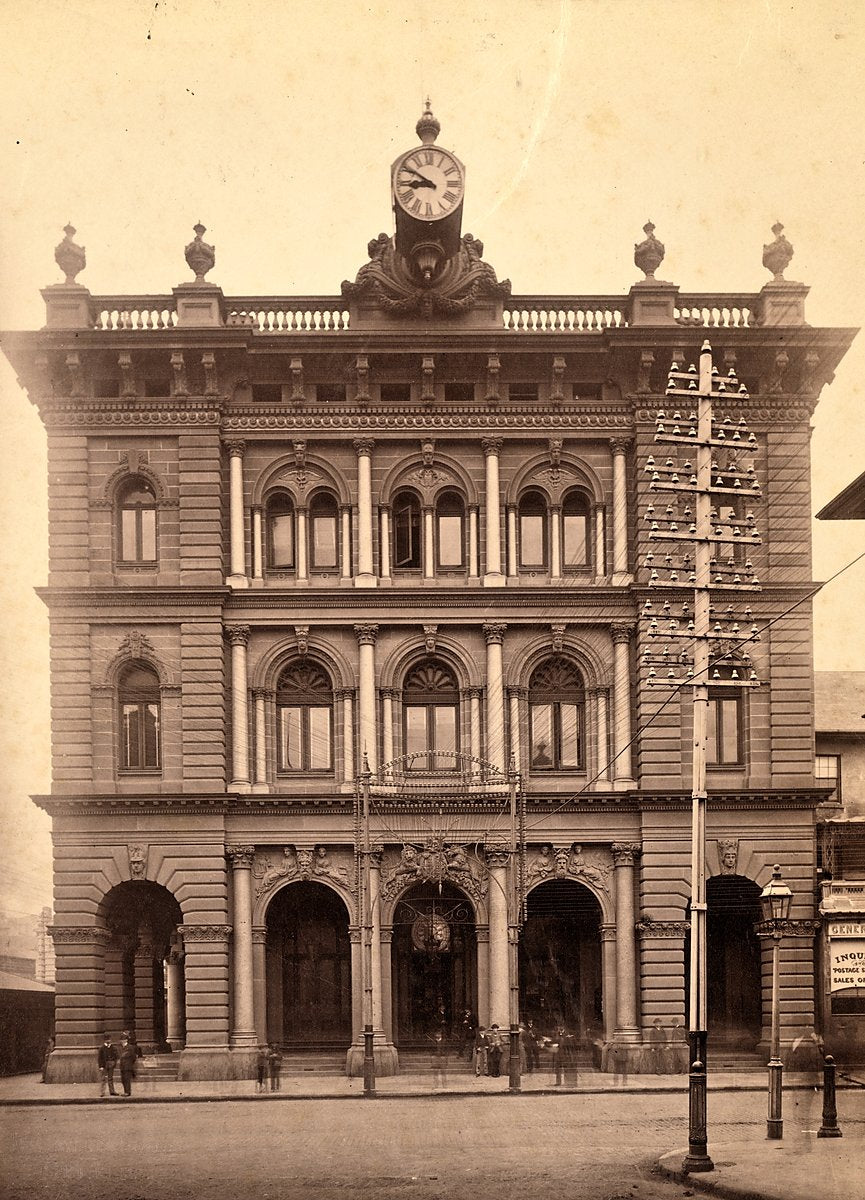
General Post Office, George Street, Sydney, before the clock tower — photograph, from George Street, c. 1880s
photograph·1880·Wynyard

General Post Office, George Street, Sydney, before the clock tower, c. 1880s

General Post Office, George Street, Sydney] / C. Bayliss Photo, SydneyCharles Bayliss
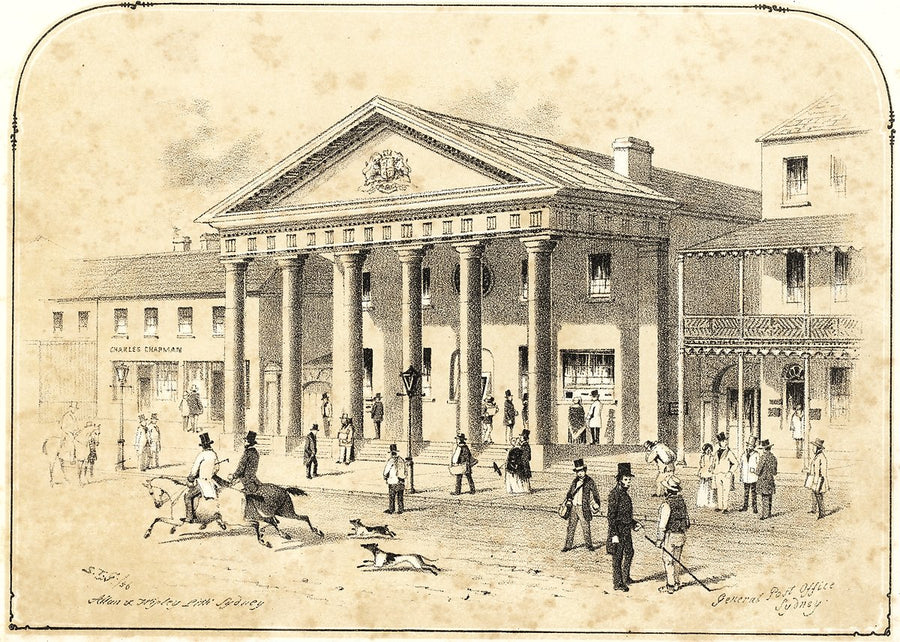
General Post Office, Sydney — illustration, from Sydney General Post Office, 1856
illustration·1856·Sydney CBD

General Post Office, Sydney, 1856

Scenery in & around Sydney / by S.T.GSamuel Thomas Gill
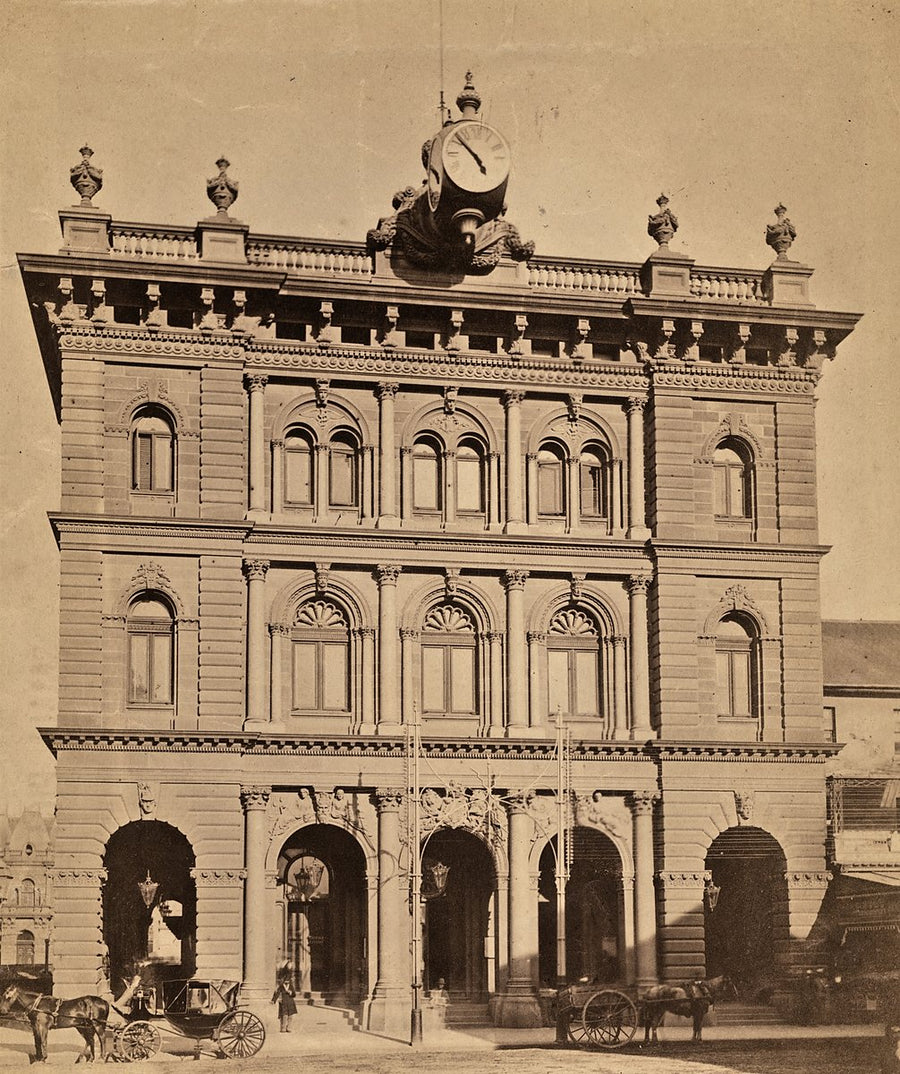
General Post Office, Sydney, by Charles Bayliss — photograph, from Sydney General Post Office, c. 1878
photograph·1878·Sydney CBD

General Post Office, Sydney, by Charles Bayliss, c. 1878

General Post Office, Sydney] / C. Bayliss Photo, SydneyCharles Bayliss
General Post Office, Sydney, with the projecting three-faced clock — photograph, from Sydney General Post Office, c. 1878
photograph·1878·Sydney CBD

General Post Office, Sydney, with the projecting three-faced clock, c. 1878

General Post Office, Sydney
George Street looking north from King Street, Sydney — photograph, from George Street, 1842
photograph·1870·Wynyard

George Street looking north from King Street, Sydney, 1842

Views of Old SydneyCharles Bayliss; Freeman Brothers; John Rae (original drawings)
George Street shopfronts, Sydney — photograph, from George Street, 1871
photograph·1870·Sydney CBD

George Street shopfronts, Sydney, 1871

Views of Old SydneyCharles Bayliss; Freeman Brothers; John Rae (original drawings)
George Street, Sydney, with Riley Brothers drapers and C. Gardner's shops — photograph, from George Street, c. 1879
photograph·1879·Haymarket

George Street, Sydney, with Riley Brothers drapers and C. Gardner's shops, c. 1879

George Street, Sydney
Georges River near Liverpool: the property of George Johnston — illustration, from Georges Hall, 1819
illustration·1810s·Georges Hall

Georges River near Liverpool: the property of George Johnston, 1819

Collection of views predominantly of Sydney, Liverpool, and the Sunda Straits, and portraits, ca 1807, 1829-1847, 1887] / owned by A.W.F. FullerJoseph Lycett; Charles Rodius; William Nicholas; George Hamilton; Walter William Thwaites; Charlotte Maria H. Docker; P. Bridgford; Evelyn Whiting; George William Evans
Glebe Island Bridge, timber trestle crossing to the abattoirs — photograph, from Pyrmont, 1870
photograph·1870·Pyrmont

Glebe Island Bridge, timber trestle crossing to the abattoirs, 1870

Glebe Island Bridge, Sydney, Oct 1870 / [attributed to Charles PickeringCharles Percy Pickering
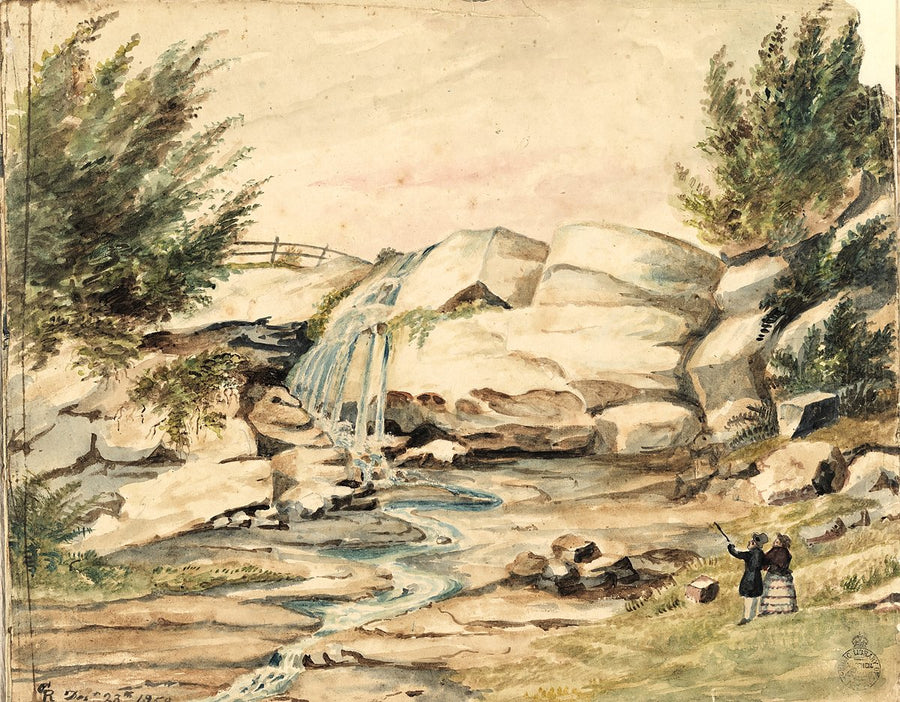
Glenmore Falls (the Cascade), Paddington — illustration, from Cascade Street, 1859
illustration·1859·Paddington

Glenmore Falls (the Cascade), Paddington, 1859

Views mainly of the eastern suburbs of SydneyGeorge Roberts
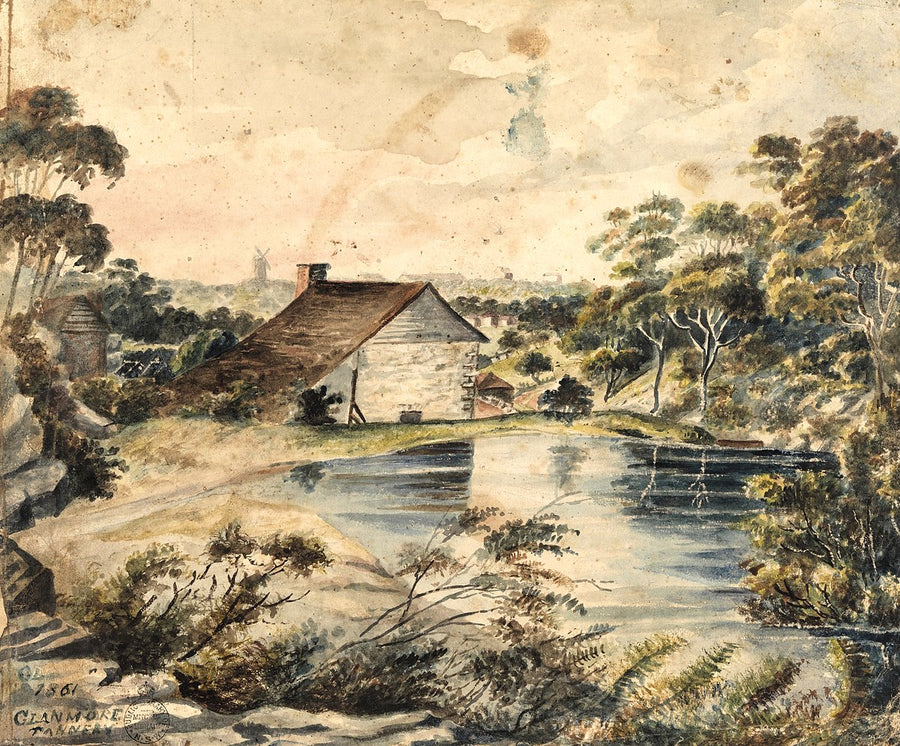
Glenmore Tannery — illustration, 1861
illustration·1859

Glenmore Tannery, 1861

Views mainly of the eastern suburbs of SydneyGeorge Roberts
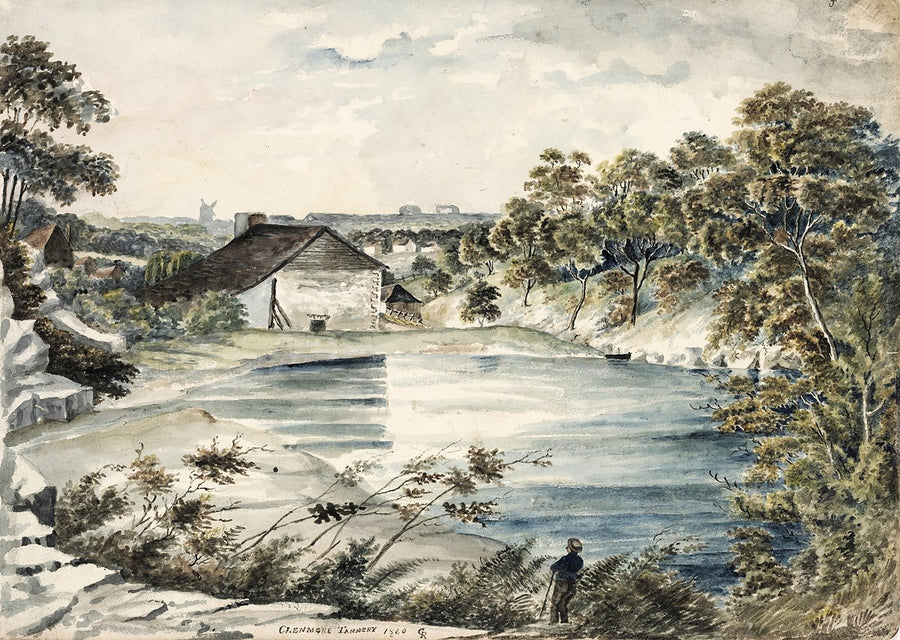
Glenmore Tannery, Rushcutters Bay — illustration, from Rushcutters Bay, 1860
illustration·1850·Rushcutters Bay

Glenmore Tannery, Rushcutters Bay, 1860

The holes and corners of Sydney as they are and as they were by G. RobertsGeorge Roberts
Glenrock Cottage and garden, Darling Point, with the Lamb family on the verandah — photograph, from Darling Point, c. 1860
photograph·1860·Darling Point

Glenrock Cottage and garden, Darling Point, with the Lamb family on the verandah, c. 1860

`Glen Rock' [i.e. Glenrock] Darling Point, one of the old residences of SydneyJ. William Dowling
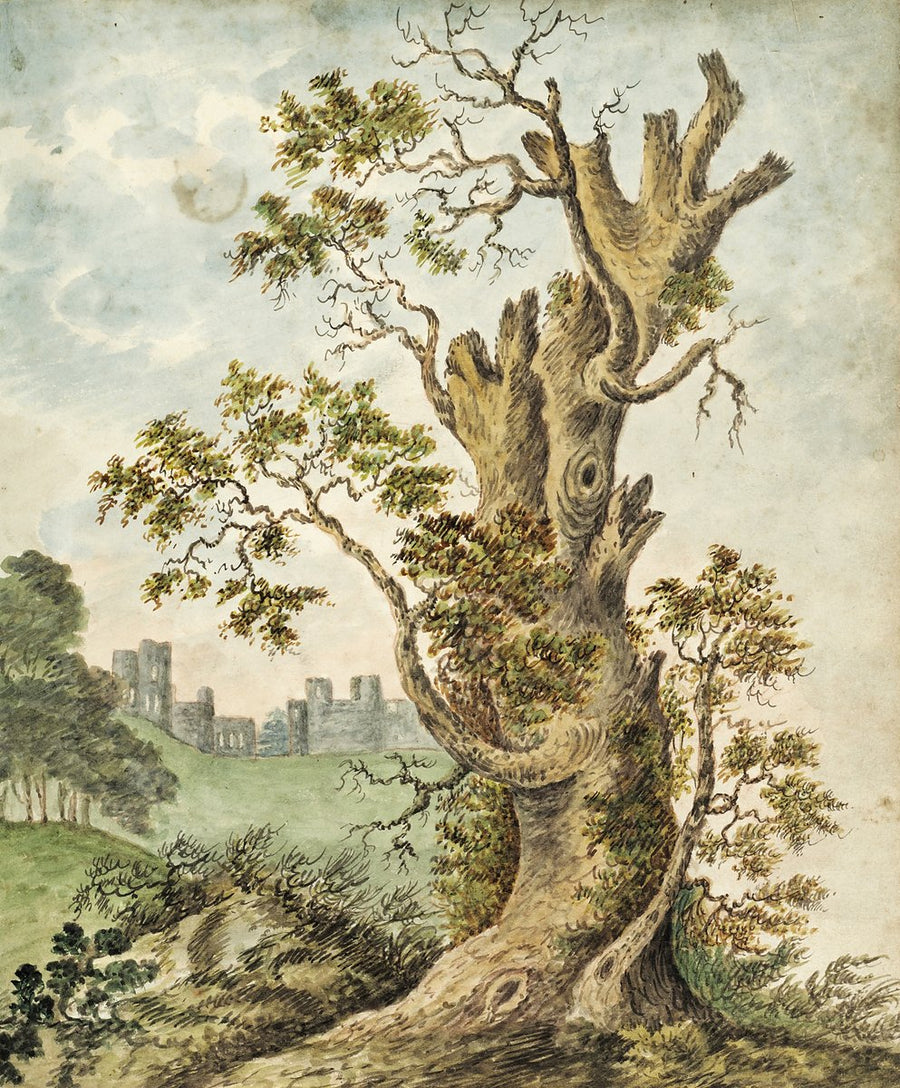
Gnarled tree with a distant house, inscribed 'Mrs Kerr' — illustration, 1837–58
illustration·1837

Gnarled tree with a distant house, inscribed 'Mrs Kerr', 1837–58

Scrap album compiled by Richard JonesRichard Jones
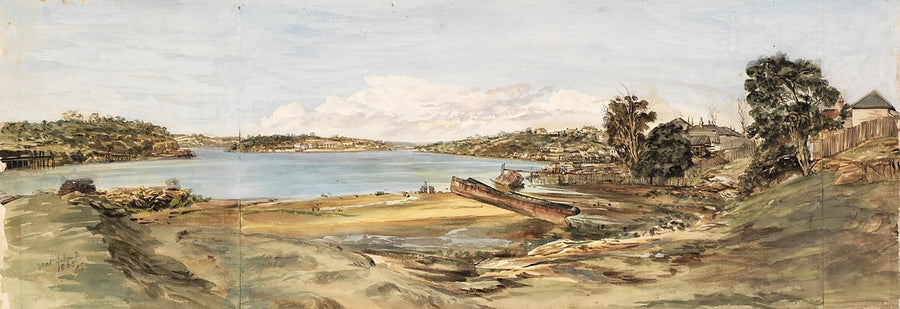
Goat Island from the Balmain foreshore — illustration, from Balmain East, 1865
illustration·1865·Balmain East

Goat Island from the Balmain foreshore, 1865

Goat Island / Samuel ElyardSamuel Elyard
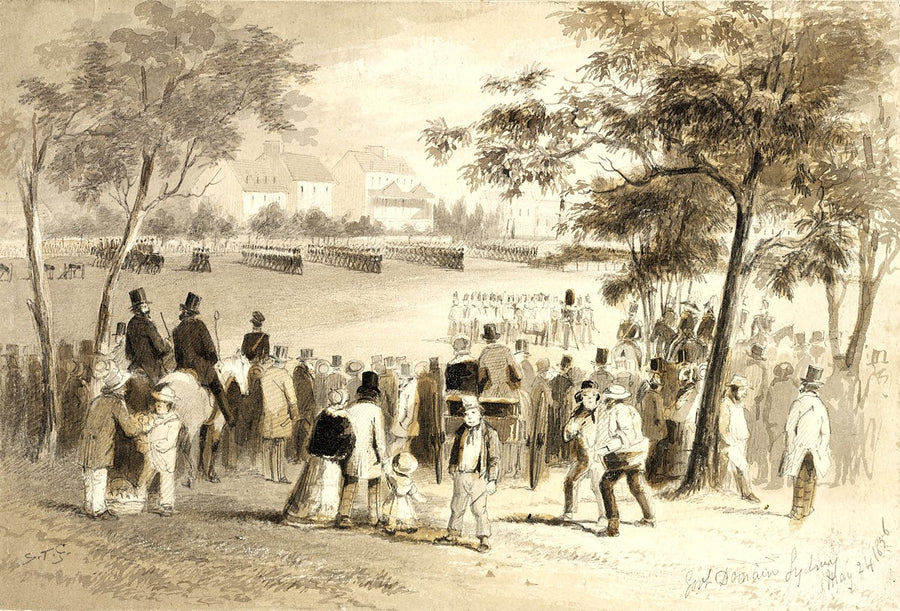
God Save the Queen — troops on parade before a crowd — illustration, 1856
illustration·1844

God Save the Queen — troops on parade before a crowd, 1856

Samuel Thomas Gill original sketchesSamuel Thomas Gill
Government House and Fort Macquarie from Sydney Harbour — illustration, from Government House, c. 1860
illustration·1860·Sydney CBD

Government House and Fort Macquarie from Sydney Harbour, c. 1860

Government House SydneyHaughton Forrest (attributed)
Government House and Fort Macquarie from Sydney Harbour — illustration, from Government House, c. 1860
illustration·1860·Sydney CBD

Government House and Fort Macquarie from Sydney Harbour, c. 1860

Government House SydneyHaughton Forrest (attributed)
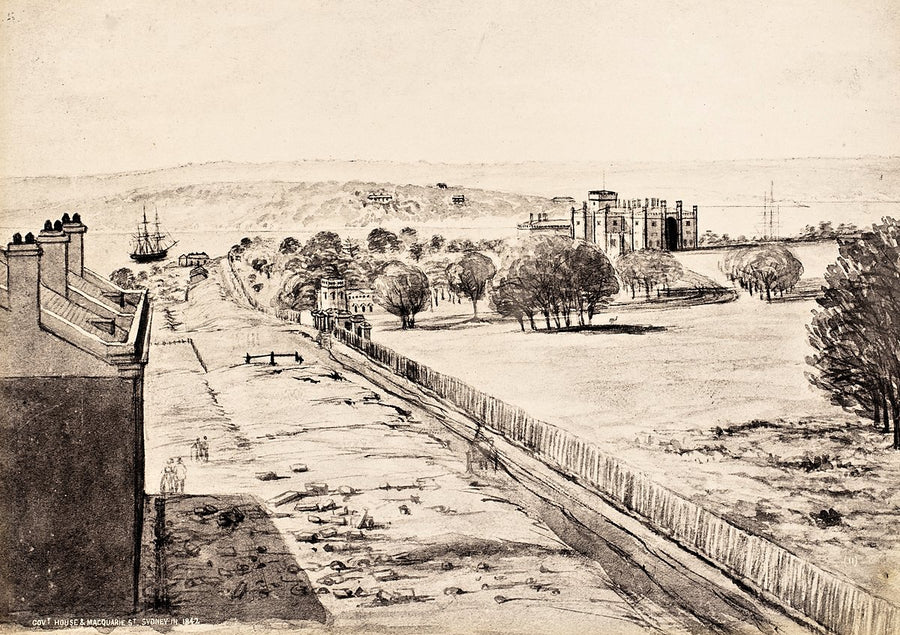
Government House and Macquarie Street, Sydney — photograph, from Government House, 1842
photograph·1870·Sydney CBD

Government House and Macquarie Street, Sydney, 1842

Views of Old SydneyCharles Bayliss; Freeman Brothers; John Rae (original drawings)
Government House, Parramatta — illustration, from Old Government House, 1805
illustration·1796·Parramatta

Government House, Parramatta, 1805

Australian paintings by J.W. Lewin, G.P. Harris, G.W. Evans and othersJ. W. Lewin; George William Evans; George Prideaux Robert Harris; Mrs. Bellasis; R. Dobson
Government House, Parramatta, seen across the domain — illustration, from Parramatta Park, 1844
illustration·1844·Parramatta

Government House, Parramatta, seen across the domain, 1844

Views of Parramatta
Government House, Parramatta, sketched 3 September 1844 — illustration, from Parramatta Park
illustration·1844·Parramatta

Government House, Parramatta, sketched 3 September 1844

Views of Parramatta
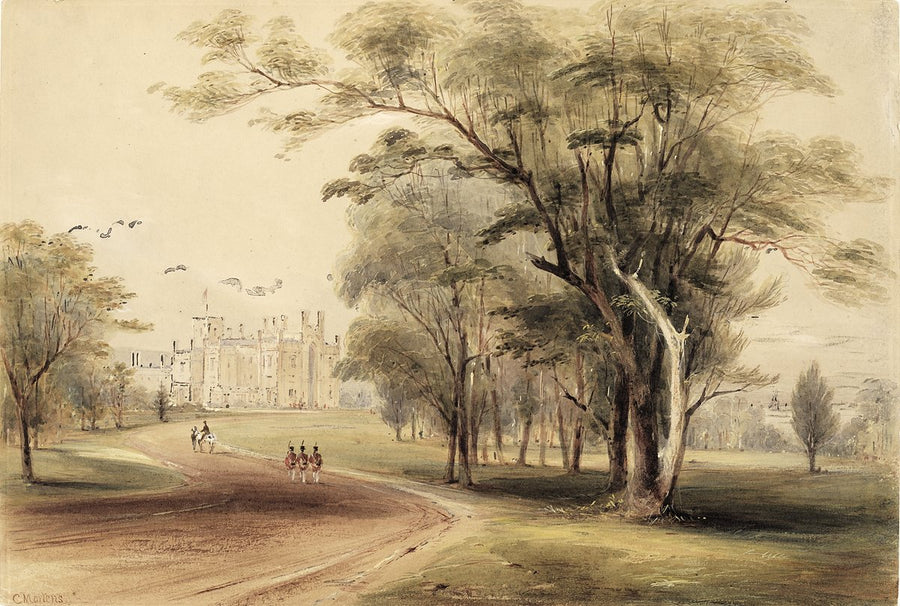
Government House, Sydney, from the garden lawn — photograph, from Government House, c. 1880s
photograph·1880·Sydney CBD

Government House, Sydney, from the garden lawn, c. 1880s

Government House, Sydney / attributed to the photographer William VosperWilliam H. Vosper
Government House, Sydney, from the harbour shore — illustration, 1847–59
illustration·1822

Government House, Sydney, from the harbour shore, 1847–59

Colonial sketches: an album of views of Sydney and NSW / E. West, F. Terry, Conrad Martens et. alE. West, F. Terry, Conrad Martens et. al.
Government House, Sydney, painted by G. E. Peacock — illustration, from Government House, c. 1850
illustration·1850·Sydney CBD

Government House, Sydney, painted by G. E. Peacock, c. 1850

Government House, ca. 1850 / painted by G. E. PeacockG. E. Peacock
Government House, Sydney, seen from its grounds, 1850 — Conrad Martens — illustration, from Government House
illustration·1850·Sydney CBD

Government House, Sydney, seen from its grounds, 1850 — Conrad Martens

Government House, Sydney] / C. MartensConrad Martens
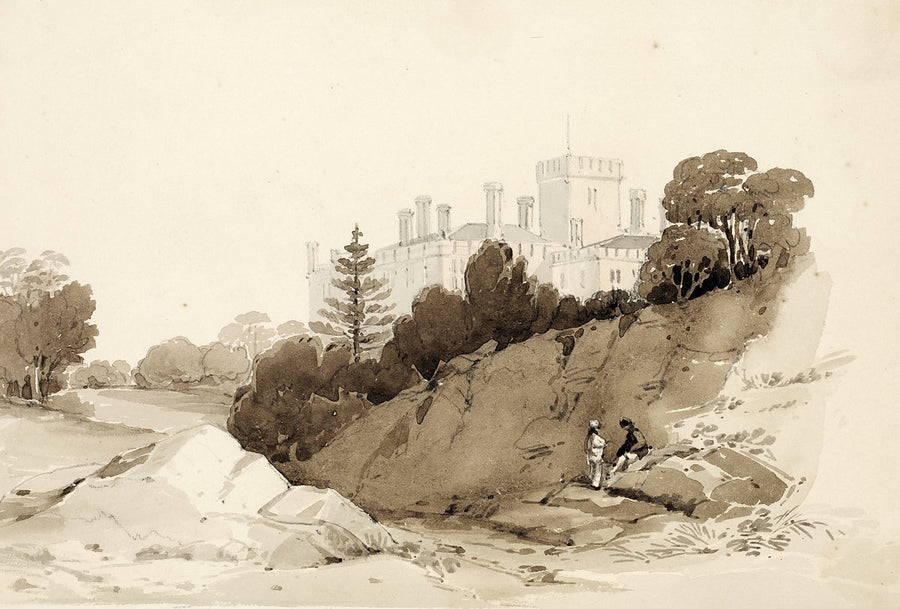
Government House, Sydney, sketched in sepia wash — illustration, from Government House, c. 1838–57
illustration·1847·Sydney CBD

Government House, Sydney, sketched in sepia wash, c. 1838–57

Album of sketches and wash drawings of Sydney, ca. 1838-1857? / drawn by Conrad MartensConrad Martens
Governor's Bath House and outbuildings, Government House Parramatta — illustration, from Parramatta Park, 1844
illustration·1844·Parramatta

Governor's Bath House and outbuildings, Government House Parramatta, 1844

Views of Parramatta
Greycliffe House from Shark Beach, Vaucluse — illustration, from Nielsen Park, 1854
illustration·1854·Vaucluse

Greycliffe House from Shark Beach, Vaucluse, 1854

Greycliffe House, Vaucluse, Sydney by Conrad MartensConrad Martens
H.M.S. Britomart at sunset in the Channel — illustration, 1838
illustration·1837

H.M.S. Britomart at sunset in the Channel, 1838

Voyage of H.M.S. Britomart from 1837 to 1843 / drawn by Owen StanleyOwen Stanley
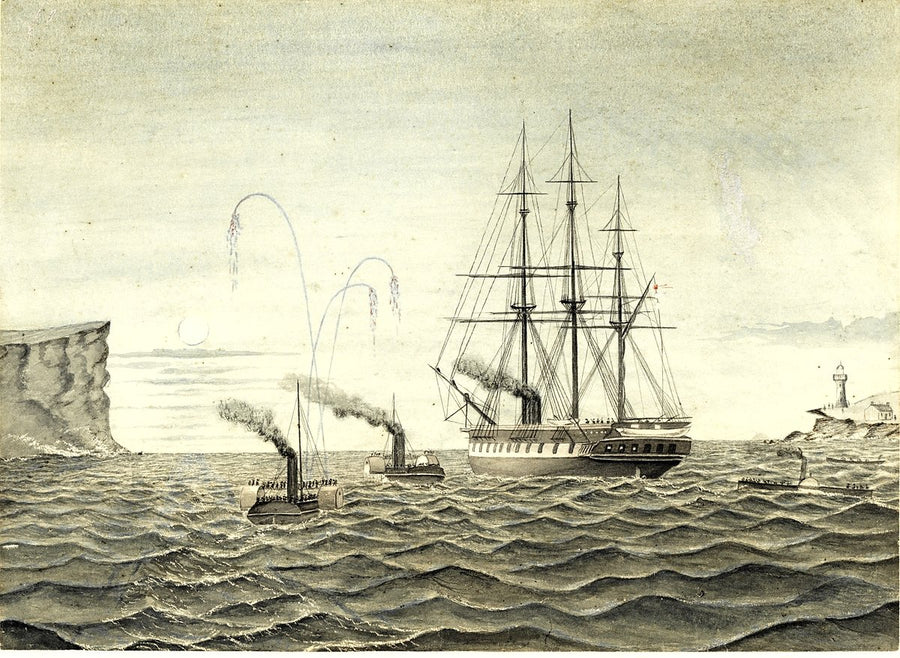
H.M.S. Galatea passing the Sydney Heads with the Emu and Pelican — illustration, from South Head, c. 1868
illustration·1868·Watsons Bay

H.M.S. Galatea passing the Sydney Heads with the Emu and Pelican, c. 1868

H.M.S. Galatea passing the Sydney Heads with the Pelican and Emu in attendance
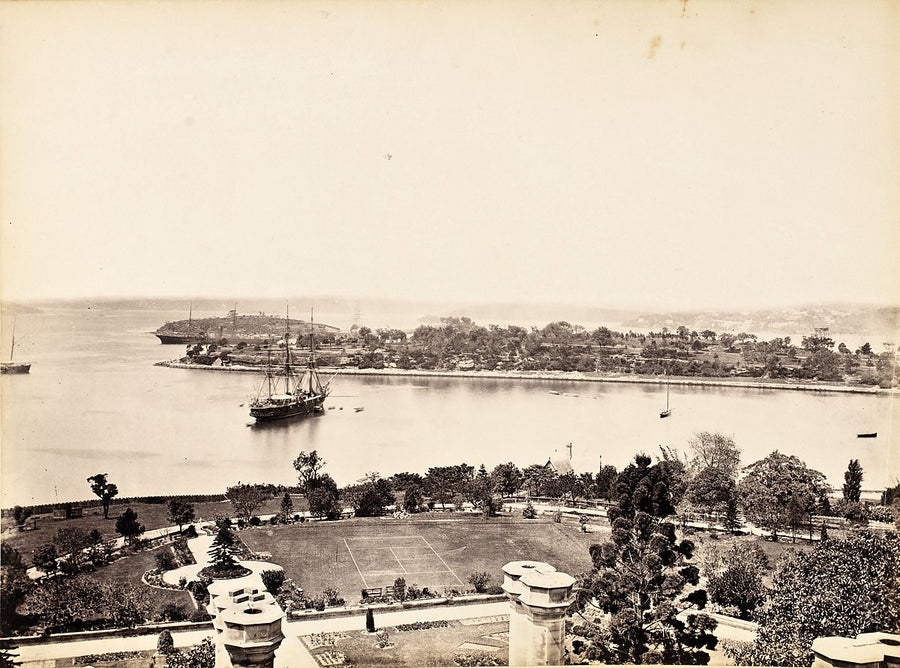
Harbour and gardens from Government House, Sydney — photograph, from Government House, c. 1879
photograph·1870·Sydney CBD

Harbour and gardens from Government House, Sydney, c. 1879

Views of Old SydneyCharles Bayliss; Freeman Brothers; John Rae (original drawings)
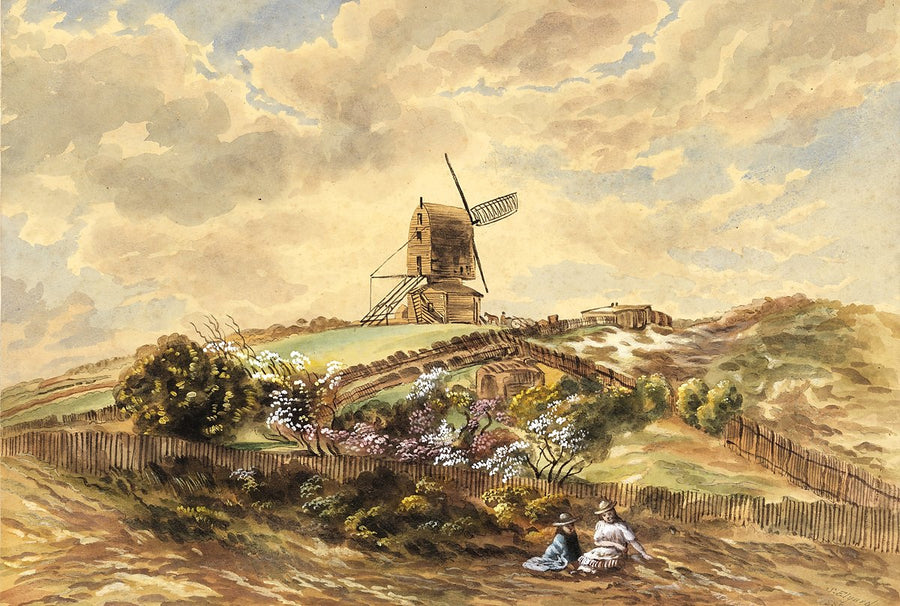
Hough's Windmill, Old South Head Road, Waverley — illustration, from Bondi Junction, 1854–78
illustration·1854·Bondi Junction

Hough's Windmill, Old South Head Road, Waverley, 1854–78

Views, mainly of Sydney, Nowra and TeraraSamuel Elyard
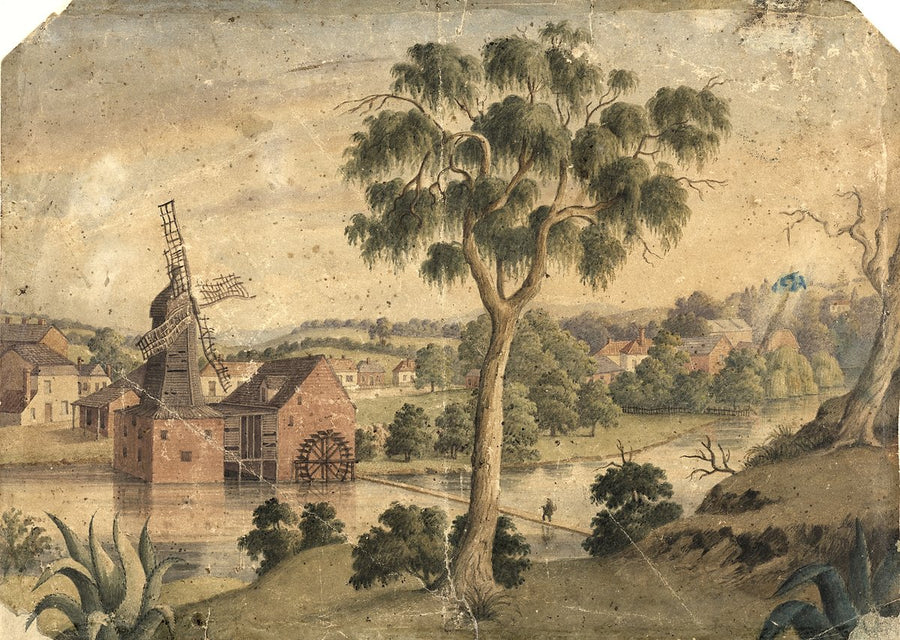
Howell's wind and water mill on the Parramatta River — illustration, from Parramatta, 1850s
illustration·1850·Parramatta

Howell's wind and water mill on the Parramatta River, 1850s

Howell's Mill, Parramatta - watercolour drawing
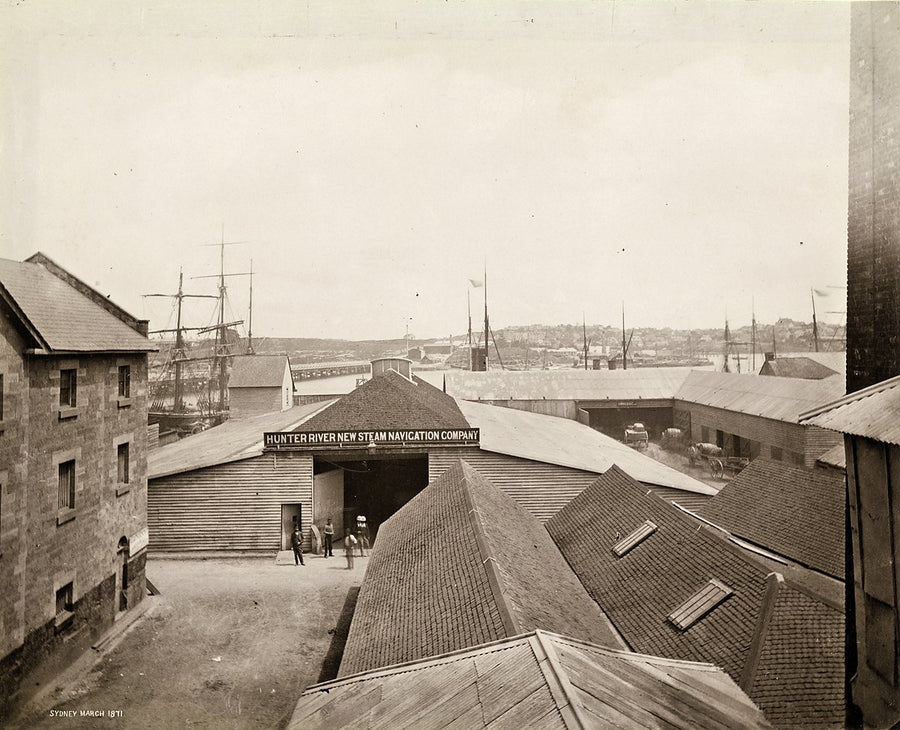
Hunter River New Steam Navigation Company warehouse, Darling Harbour — photograph, from Darling Harbour, 1871
photograph·1871·Darling Harbour

Hunter River New Steam Navigation Company warehouse, Darling Harbour, 1871

Sydney, March 1871
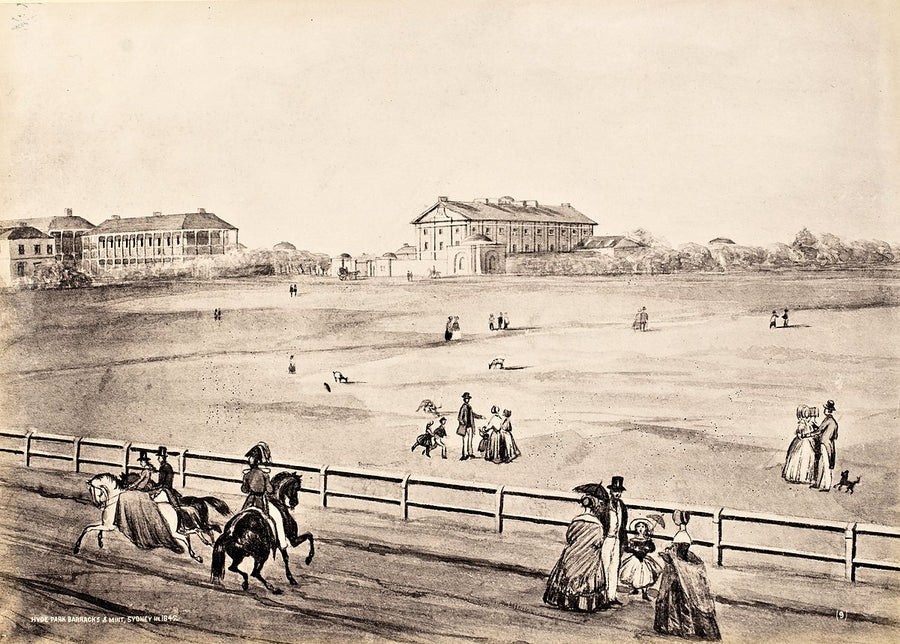
Hyde Park Barracks and the Mint seen across the park, Sydney — photograph, from Sydney CBD, 1842
photograph·1870·Sydney CBD

Hyde Park Barracks and the Mint seen across the park, Sydney, 1842

Views of Old SydneyCharles Bayliss; Freeman Brothers; John Rae (original drawings)
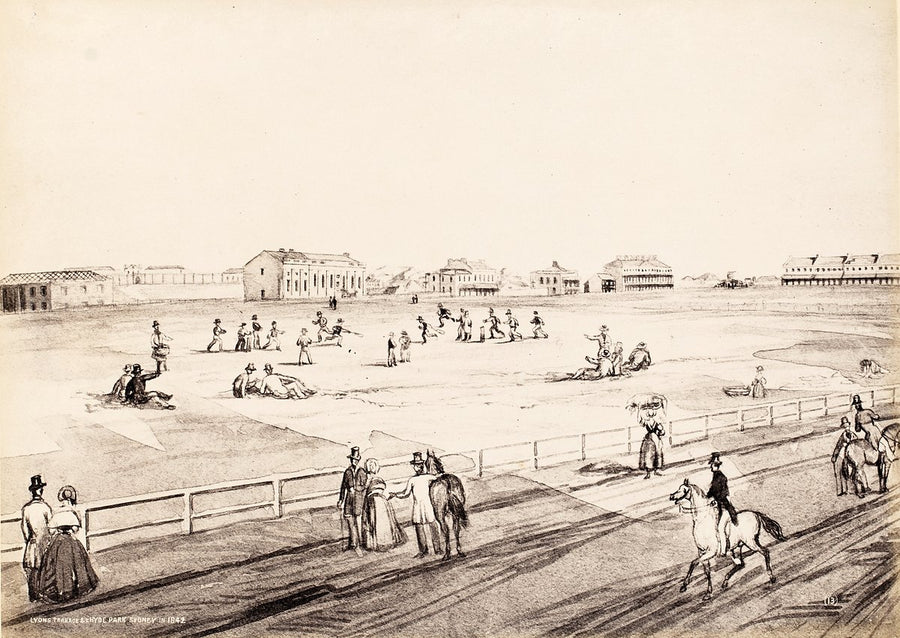
Hyde Park, Sydney, in 1842, with Lyons Terrace on the skyline — illustration, from Hyde Park
illustration·1870·Sydney CBD

Hyde Park, Sydney, in 1842, with Lyons Terrace on the skyline

Views of Old SydneyCharles Bayliss; Freeman Brothers; John Rae (original drawings)
Hyde Park, with old St Mary's Cathedral and the Woolloomooloo windmills — illustration, from Hyde Park, 1842
illustration·1842·Sydney CBD

Hyde Park, with old St Mary's Cathedral and the Woolloomooloo windmills, 1842

Views in old SydneyJohn Rae
Illustrated title page for 'J.T. Doyle's Sketches in Australia' — illustration, c. 1862–63
illustration·1862

Illustrated title page for 'J.T. Doyle's Sketches in Australia', c. 1862–63

Dr Doyle's sketch book, ca. 1862-1863 / John Thomas Doyle & Samuel Thomas GillSamuel Thomas Gill
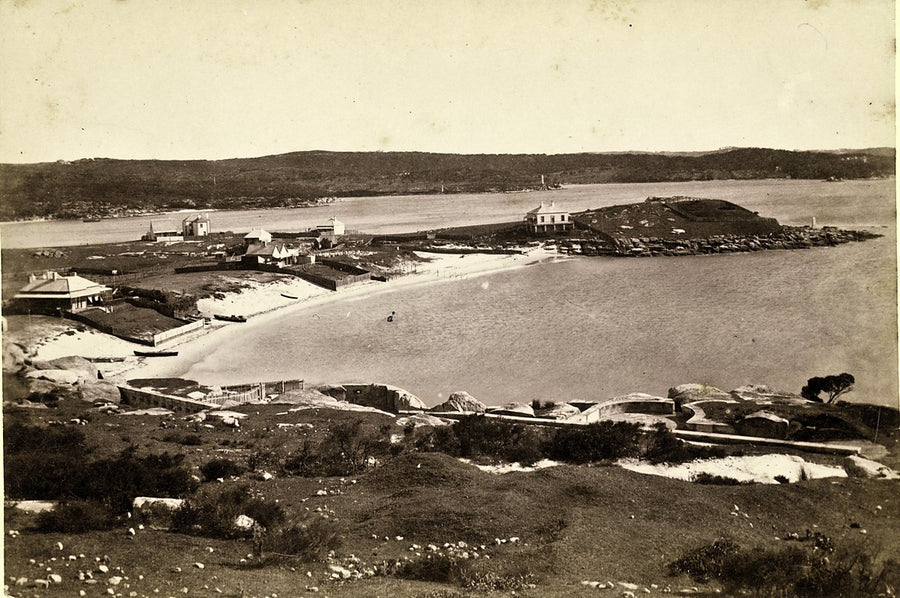
Inner Battery fortifications, Camp Cove and Laings Point, Watsons Bay — photograph, from Camp Cove Beach, c. 1890s
photograph·1890·Watsons Bay

Inner Battery fortifications, Camp Cove and Laings Point, Watsons Bay, c. 1890s

View of `Inner Battery' fortifications, Camp Cove and Laings Point at Watsons Bay, N.S.W