Explore the Archive

Narrow by decade, suburb, or image type — or combine them and see what surfaces.

142 works of 1102
"Opera Drama Ballet Comedy" float, Commonwealth Jubilee procession — photograph, from Sydney Town Hall, 1951
photograph·1942·Sydney CBD

"Opera Drama Ballet Comedy" float, Commonwealth Jubilee procession, 1951

Hood Collection part II, Box 078, nos. 001-069 : Hardy-Watkins wedding; AWA paintings exhibit; Commonwealth Golden Jubilee procession; Clarence Miller wedding; Warwick Peet wedding; Rural valley; Portraits; Dog; Swampy landSam Hood
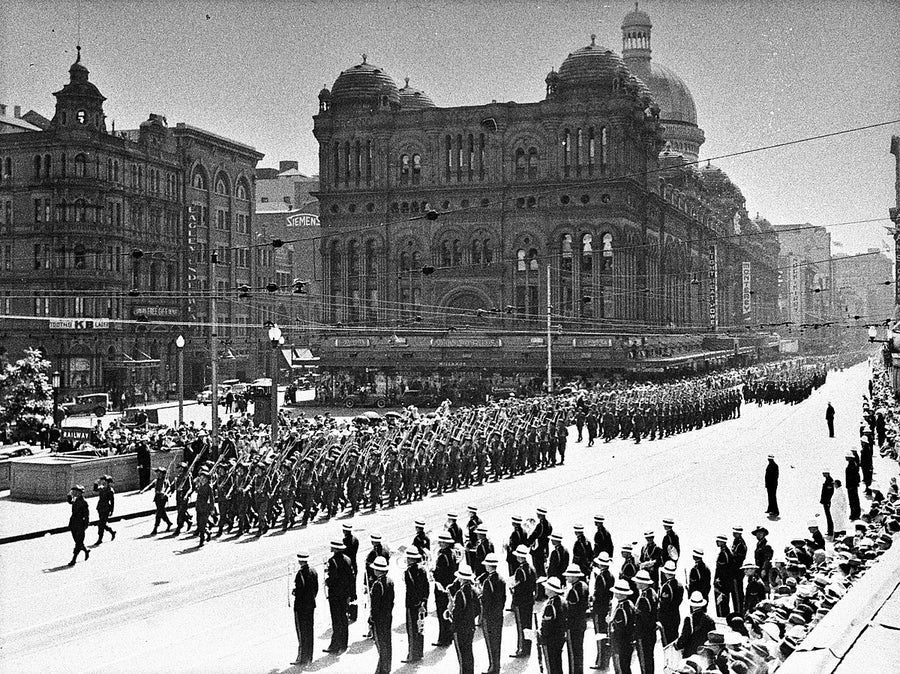
2nd AIF infantry on parade past the Queen Victoria Building, George Street — photograph, from Queen Victoria Building, 1930–50
photograph·1937·Sydney CBD

2nd AIF infantry on parade past the Queen Victoria Building, George Street, 1930–50

State Library NSWSam Hood
2nd AIF march along George Street past Sydney Town Hall — photograph, from Sydney Town Hall, c. 1890–1950
photograph·1890·Sydney CBD

2nd AIF march along George Street past Sydney Town Hall, c. 1890–1950

State Library NSWSam Hood
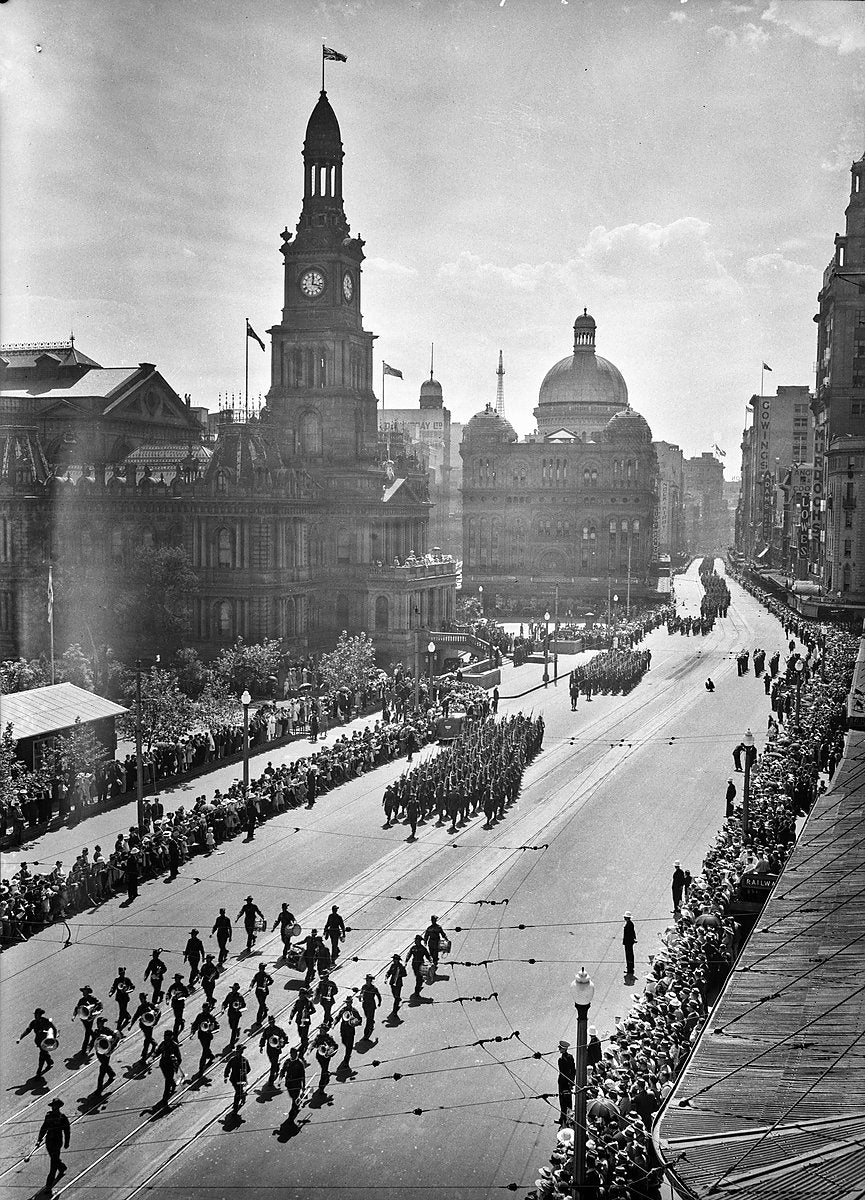
2nd AIF marching past the saluting base at Sydney Town Hall, George Street — photograph, from Sydney Town Hall, 1940
photograph·1940·Sydney CBD

2nd AIF marching past the saluting base at Sydney Town Hall, George Street, 1940

2nd A.I.F. marching in George Street, passing the Saluting Base at Sydney Town HallSam Hood
2nd AIF route march past Sydney Town Hall, George Street — photograph, from Sydney Town Hall, 1940
photograph·1890·Sydney CBD

2nd AIF route march past Sydney Town Hall, George Street, 1940

State Library NSWSam Hood
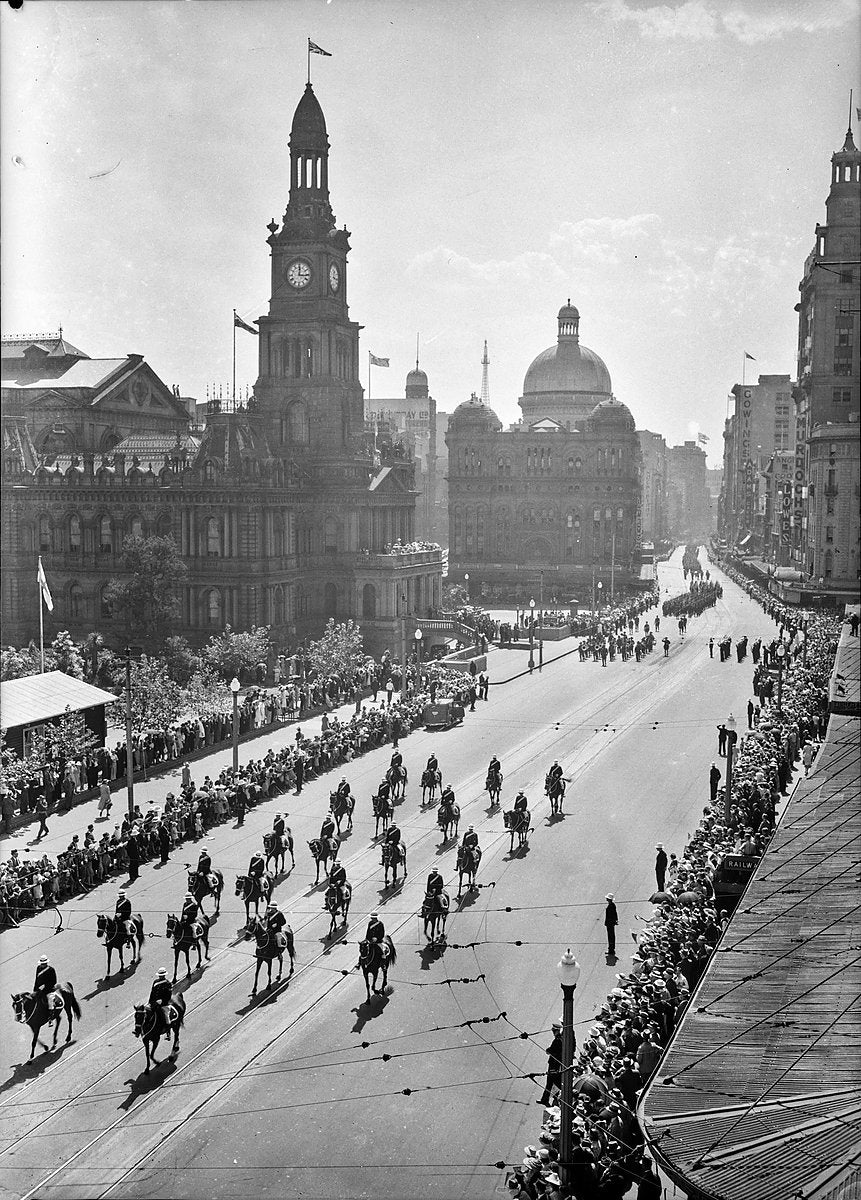
2nd AIF troops march past Sydney Town Hall — photograph, from Sydney Town Hall, 1939–50
photograph·1937·Sydney CBD

2nd AIF troops march past Sydney Town Hall, 1939–50

State Library NSWSam Hood
2nd AIF troops marching past the Queen Victoria Building, George Street, Sydney — photograph, from Queen Victoria Building, 1940
photograph·1940·Sydney CBD

2nd AIF troops marching past the Queen Victoria Building, George Street, Sydney, 1940

2nd A.I.F. marching through SydneySam Hood
Aeroplane Jellies float passing Museum Station — photograph, from Sydney CBD, 1938
photograph·1938·Sydney CBD

Aeroplane Jellies float passing Museum Station, 1938

Sesquicentenary Manufacturers' Parade, Sydney, 1938: photographs
Anthony Hordern & Sons Palace Emporium fire, George Street — illustration, from George Street, 1901
illustration·1901·Haymarket

Anthony Hordern & Sons Palace Emporium fire, George Street, 1901

Anthony Hordern & Sons Palace Emporium fire by Fred LeistFred Leist
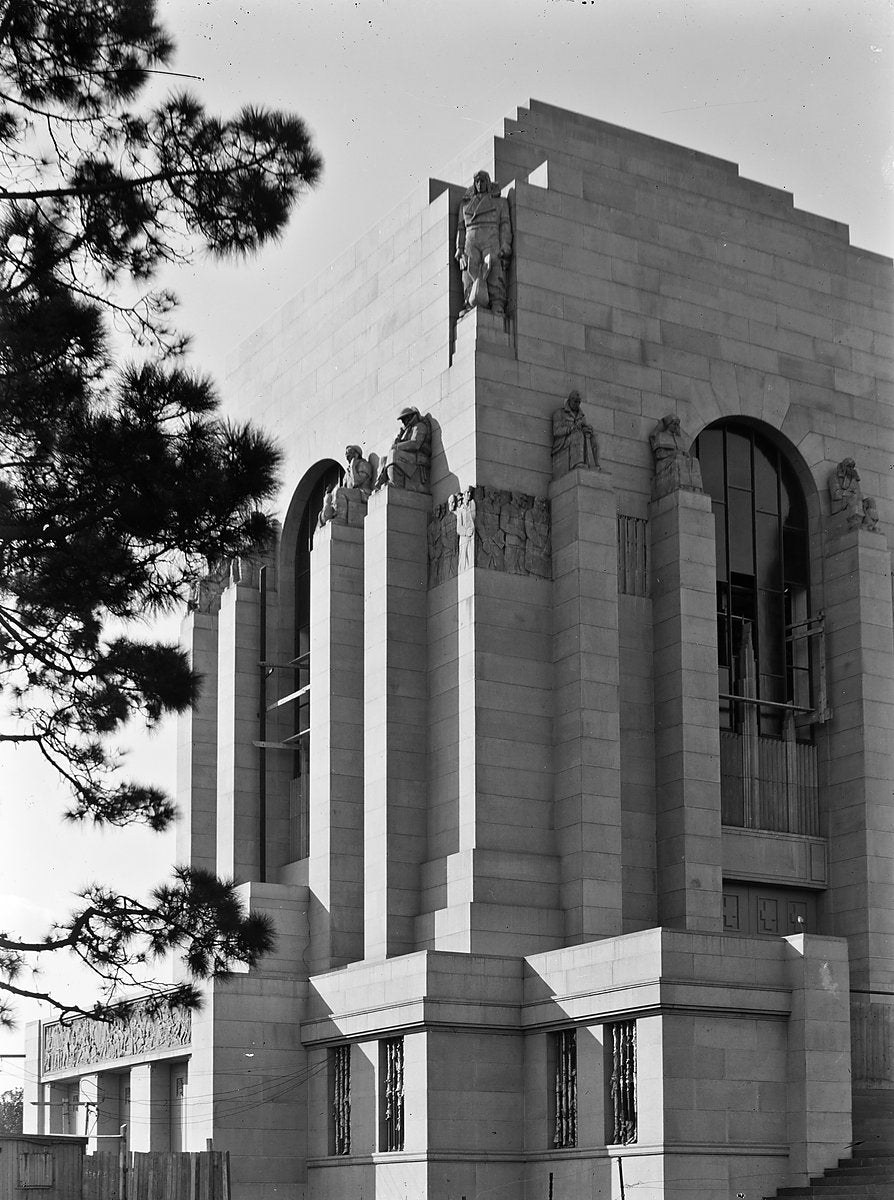
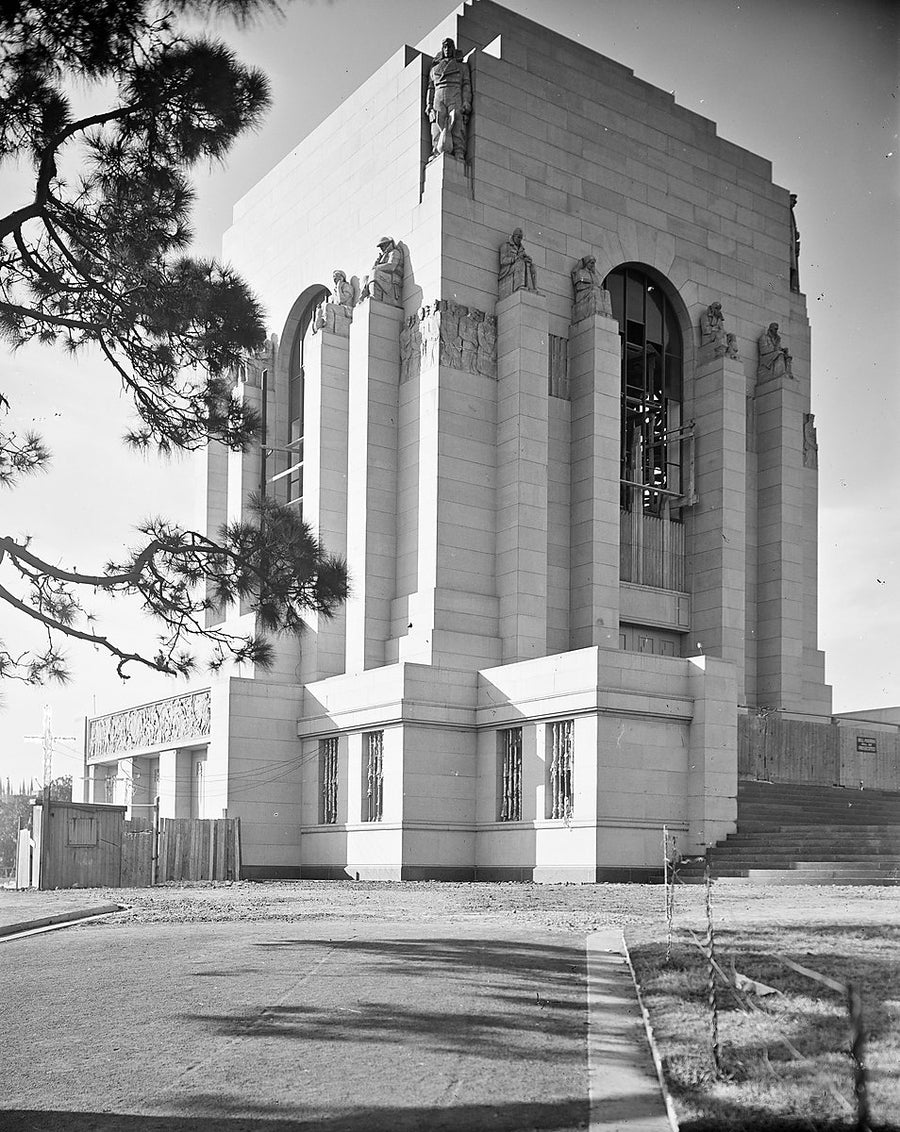
Anzac Memorial nearing completion, Hyde Park — photograph, from Anzac Memorial, 1934
photograph·1934·Sydney CBD

Anzac Memorial nearing completion, Hyde Park, 1934

Anzac Memorial, Hyde Park, Sydney / photograph by Harold CazneauxHarold Cazneaux
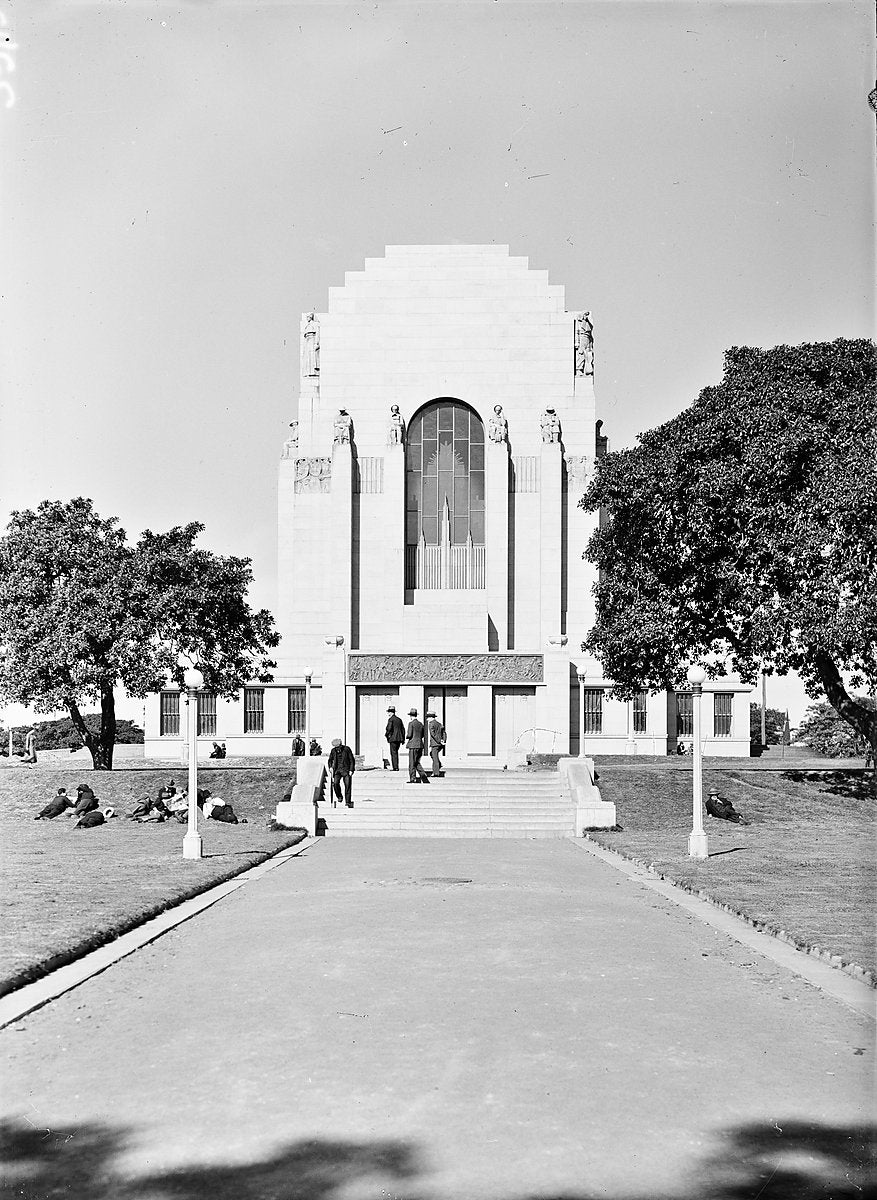
Anzac Memorial seen across Hyde Park, Sydney — photograph, from Anzac Memorial, 1949
photograph·1949·Sydney CBD

Anzac Memorial seen across Hyde Park, Sydney, 1949

Sydney
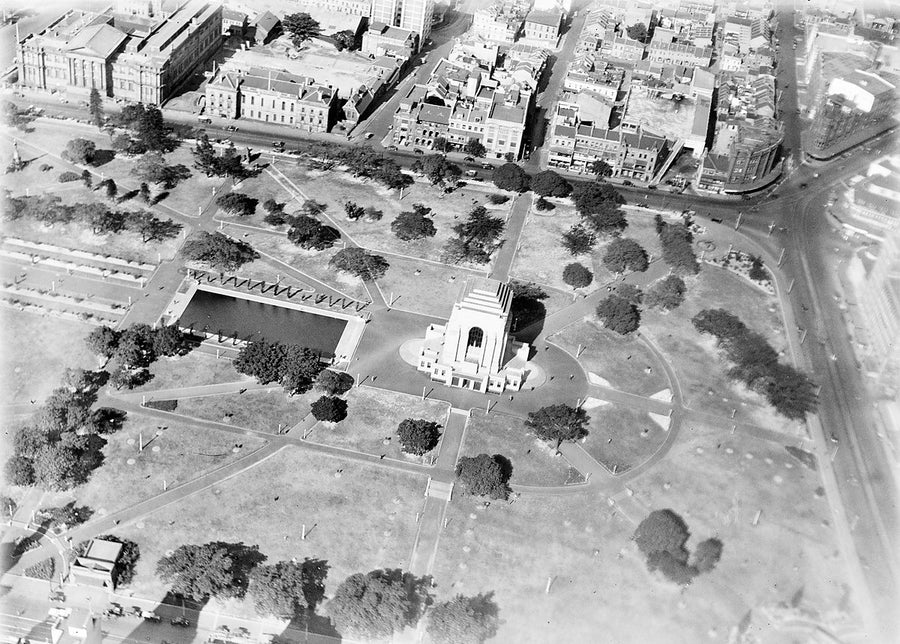
ANZAC Memorial, Hyde Park, from the air — photograph, from Anzac Memorial, c. 1934–35
photograph·1932·Sydney CBD

ANZAC Memorial, Hyde Park, from the air, c. 1934–35

Taronga Zoo / photograph by Theo PurcellTheo Purcell
Anzac Memorial, Hyde Park, nearing completion — photograph, from Anzac Memorial, 1934
photograph·1934·Sydney CBD

Anzac Memorial, Hyde Park, nearing completion, 1934

Anzac Memorial, Hyde Park, Sydney / photograph by Harold CazneauxHarold Cazneaux
Anzac Memorial, Hyde Park, nearing completion — photograph, from Anzac Memorial, 1934
photograph·1934·Sydney CBD

Anzac Memorial, Hyde Park, nearing completion, 1934

Anzac Memorial, Hyde Park, Sydney / photograph by Harold CazneauxHarold Cazneaux
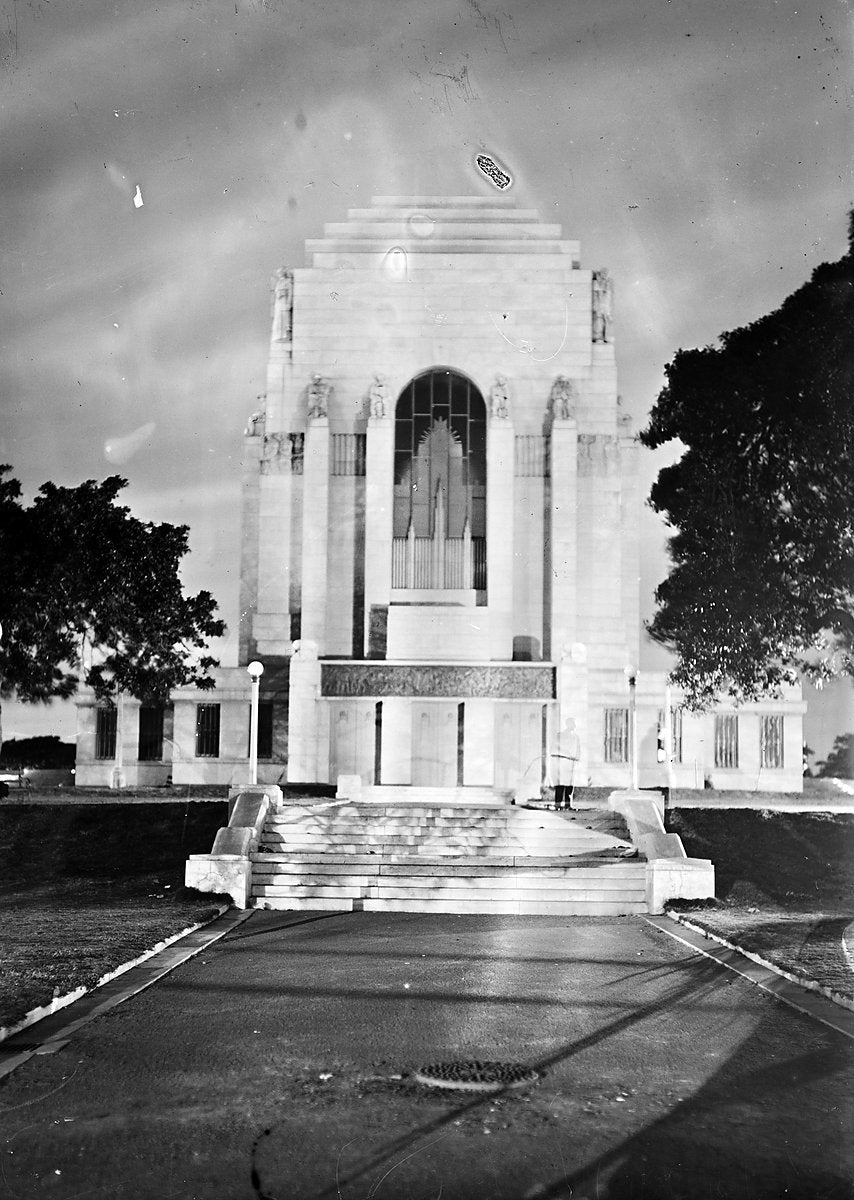
Anzac Memorial, Hyde Park, Sydney — photograph, from Anzac Memorial, 1934
photograph·1934·Sydney CBD

Anzac Memorial, Hyde Park, Sydney, 1934

Anzac Memorial, Hyde Park, Sydney / photograph by Harold CazneauxHarold Cazneaux
Anzac Memorial, Hyde Park, Sydney — photograph, from Anzac Memorial, 1934
photograph·1934·Sydney CBD

Anzac Memorial, Hyde Park, Sydney, 1934

Anzac Memorial, Hyde Park, Sydney / photograph by Harold CazneauxHarold Cazneaux
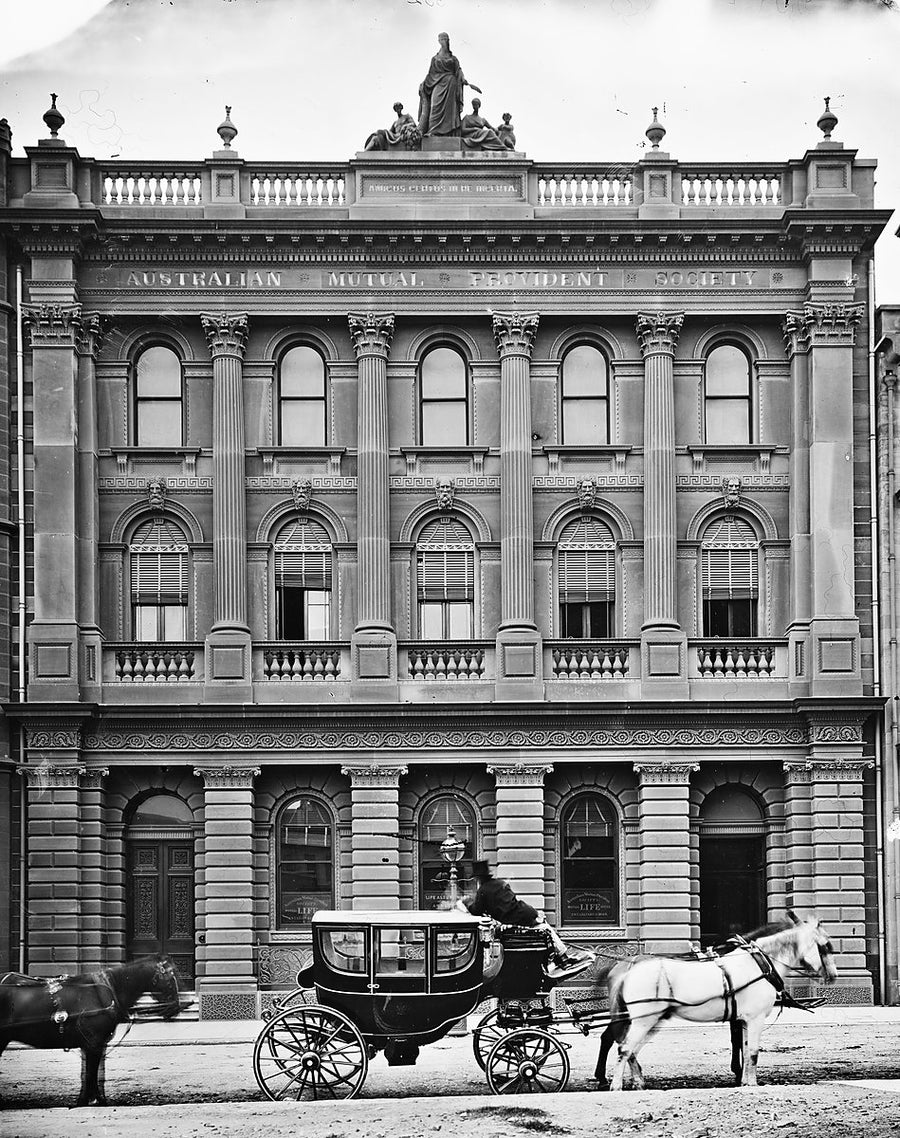
Australian Mutual Provident Society building, 98 Pitt Street, Sydney — photograph, from Pitt Street, c. 1871–73
photograph·1870·Sydney CBD

Australian Mutual Provident Society building, 98 Pitt Street, Sydney, c. 1871–73

Construction of the Centennial Hall, Sydney Town HallAmerican & Australasian Photographic Company
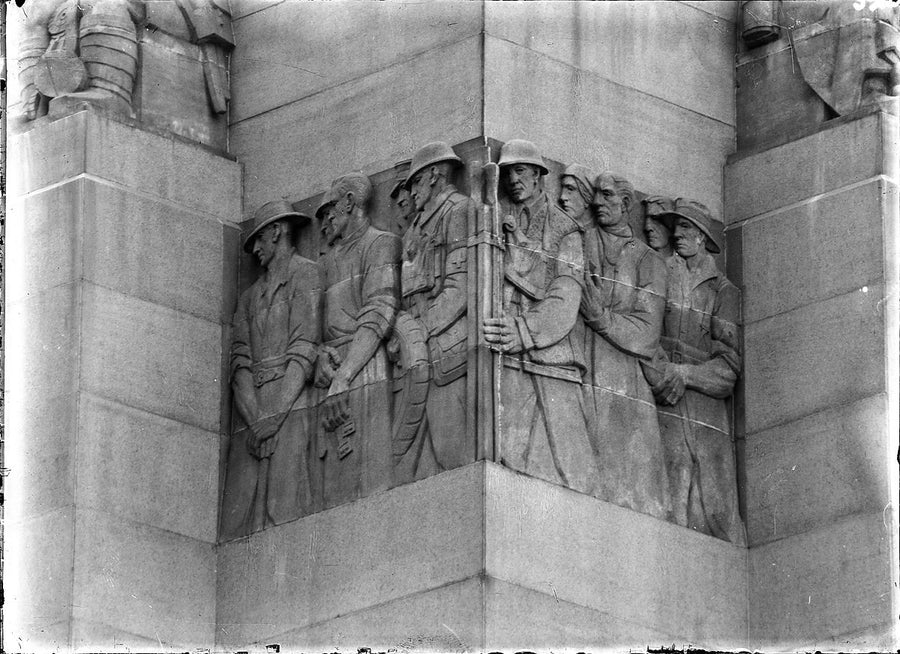
Bas-relief of servicemen on the Anzac Memorial, Hyde Park — photograph, from Anzac Memorial, 1934
photograph·1934·Sydney CBD

Bas-relief of servicemen on the Anzac Memorial, Hyde Park, 1934

Anzac Memorial, Hyde Park, Sydney / photograph by Harold CazneauxHarold Cazneaux
Bas-relief of servicemen on the Anzac Memorial, Hyde Park — photograph, from Anzac Memorial, 1934
photograph·1934·Sydney CBD

Bas-relief of servicemen on the Anzac Memorial, Hyde Park, 1934

Anzac Memorial, Hyde Park, Sydney / photograph by Harold CazneauxHarold Cazneaux
Bent Street, Sydney, drawn by John Rae — illustration, from Sydney CBD, 1842
illustration·1870

Bent Street, Sydney, drawn by John Rae, 1842

Views of Old SydneyCharles Bayliss; Freeman Brothers; John Rae (original drawings)
Boy Scouts float, Commonwealth Golden Jubilee procession, Sydney — photograph, from Sydney Town Hall, 1951
photograph·1942·Sydney CBD

Boy Scouts float, Commonwealth Golden Jubilee procession, Sydney, 1951

Hood Collection part II, Box 078, nos. 001-069 : Hardy-Watkins wedding; AWA paintings exhibit; Commonwealth Golden Jubilee procession; Clarence Miller wedding; Warwick Peet wedding; Rural valley; Portraits; Dog; Swampy landSam Hood
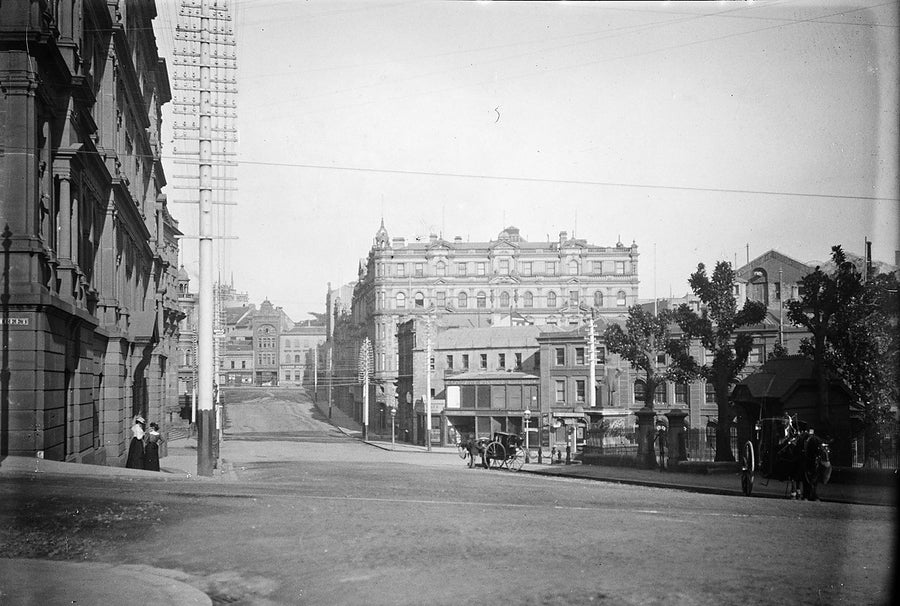
Bridge Street looking west from Loftus Street, Sydney — photograph, from Sydney CBD, 1900–05
photograph·1900·Sydney CBD

Bridge Street looking west from Loftus Street, Sydney, 1900–05

Royal Australian Historical Society : photonegativesRoyal Australian Historical Society
Butchers' association float in the Commonwealth Golden Jubilee procession, Sydney — photograph, from Sydney Town Hall, 1951
photograph·1942·Sydney CBD

Butchers' association float in the Commonwealth Golden Jubilee procession, Sydney, 1951

Hood Collection part II, Box 078, nos. 001-069 : Hardy-Watkins wedding; AWA paintings exhibit; Commonwealth Golden Jubilee procession; Clarence Miller wedding; Warwick Peet wedding; Rural valley; Portraits; Dog; Swampy landSam Hood
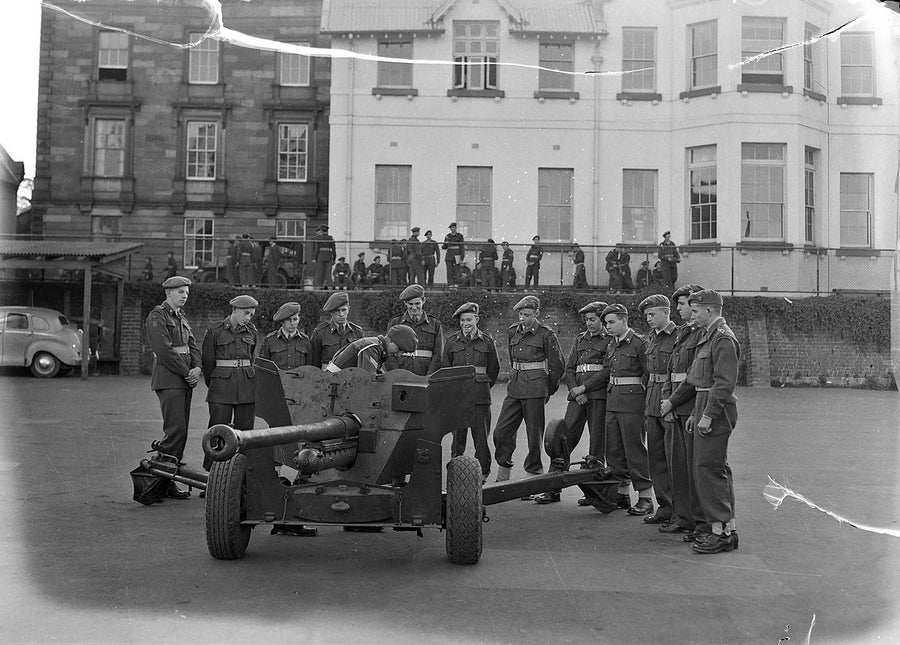
Cadets around a field gun, Sydney Grammar School — photograph, from Sydney Grammar School, 1954
photograph·1954·Darlinghurst

Cadets around a field gun, Sydney Grammar School, 1954

Sydney Grammar, June 1954
Canterbury-bound bus among traffic at Railway Square — photograph, from Haymarket, c. 1927–29
photograph·1927·Haymarket

Canterbury-bound bus among traffic at Railway Square, c. 1927–29

Hood Collection part II, Box 042, nos. 052-072 : Trams, buses and traffic, Railway Square and Broadway; Express trains concourse, Central railway station; Shoppers on the steps, Mark Foy's; Christmas party, children's hospitalSam Hood
Central Railway Station clock tower and Eddy Avenue, Sydney — photograph, from Haymarket, 1906–10
photograph·1905·Haymarket

Central Railway Station clock tower and Eddy Avenue, Sydney, 1906–10

Sydney. Central Railway Station, Eddy Avenue Horses & carts, buses, trams etceteraStar Photo Co.
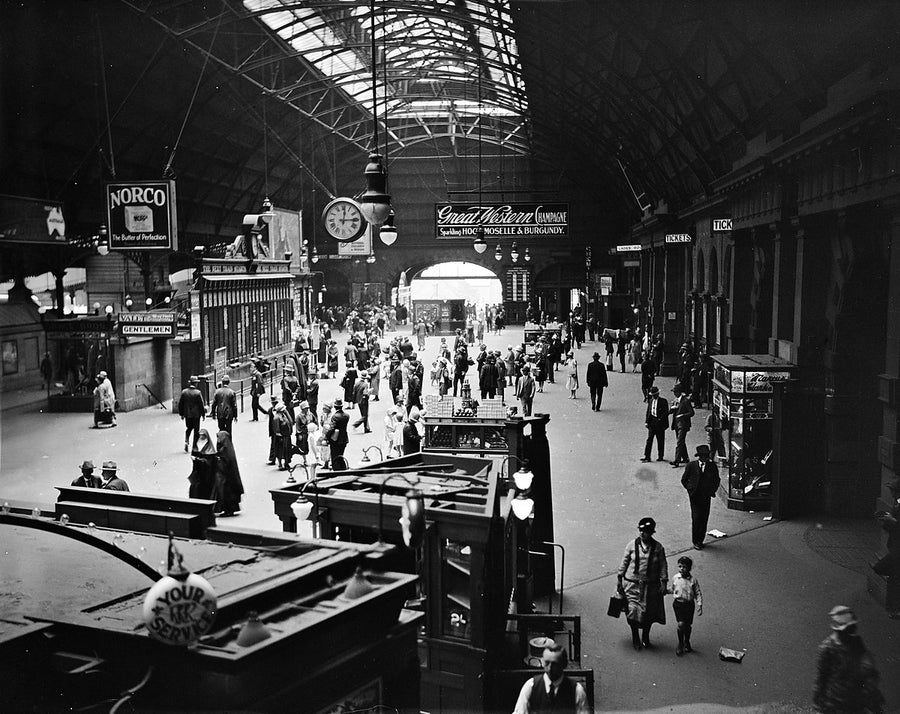
Central Railway Station concourse, Sydney — photograph, from Haymarket, c. 1927–29
photograph·1927·Haymarket

Central Railway Station concourse, Sydney, c. 1927–29

Hood Collection part II, Box 042, nos. 052-072 : Trams, buses and traffic, Railway Square and Broadway; Express trains concourse, Central railway station; Shoppers on the steps, Mark Foy's; Christmas party, children's hospitalSam Hood
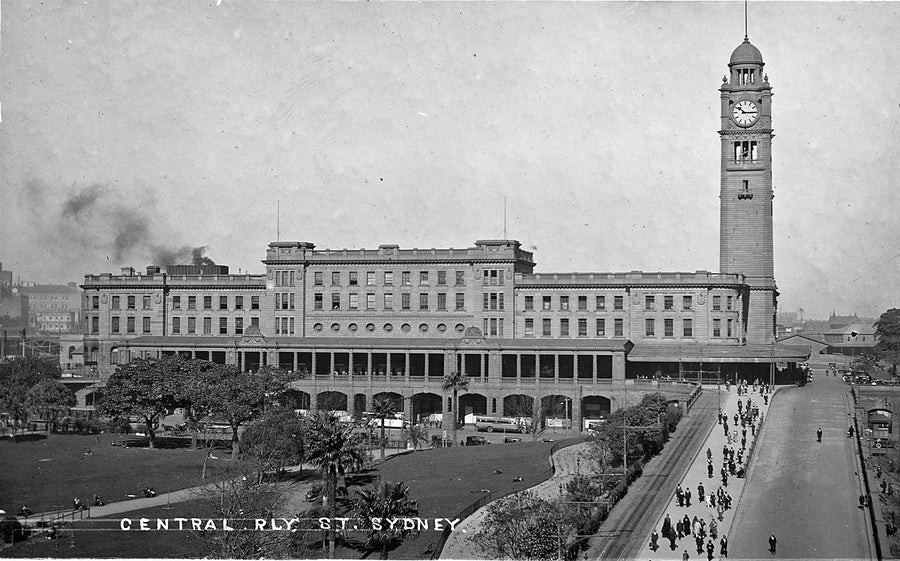
Central Railway Station from above, Sydney — photograph, from Central Station, 1906–20
photograph·1871·Haymarket

Central Railway Station from above, Sydney, 1906–20

Redfern Railway Station and Central Railway Station, Sydney
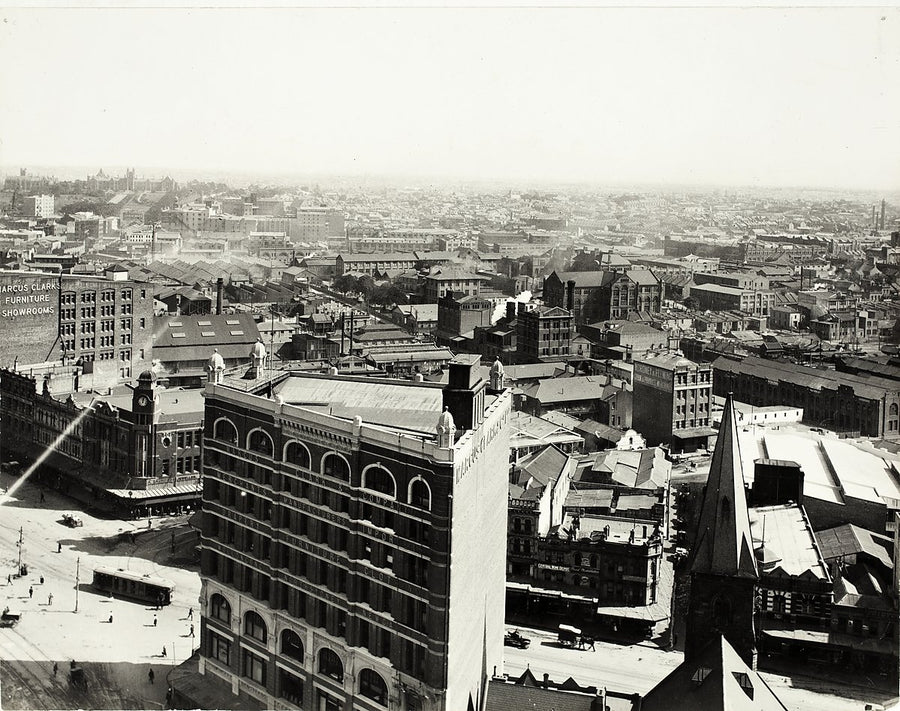
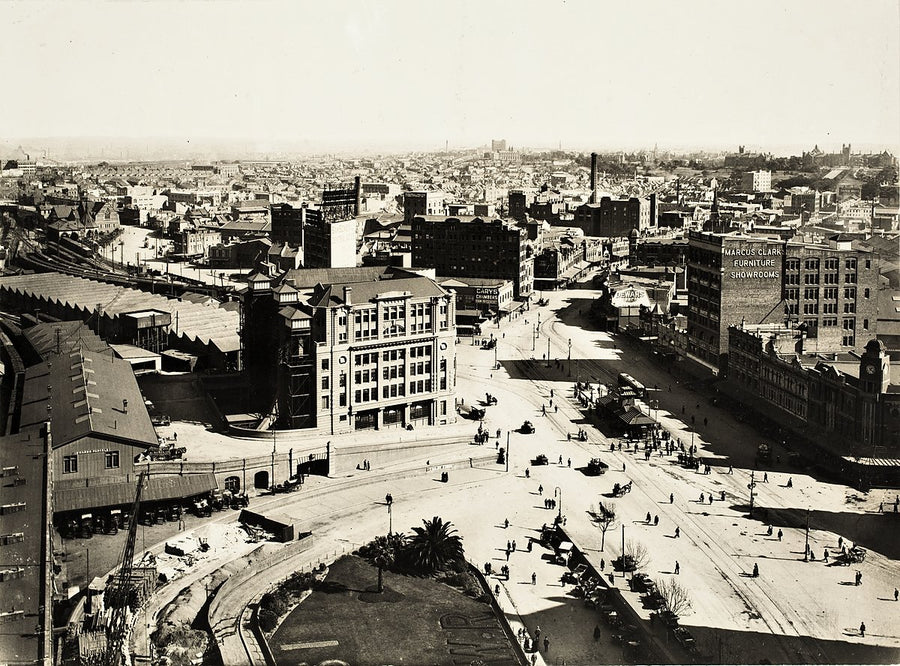
Central Railway Station from the Marcus Clark Building — photograph, from Central Station, c. 1930s
photograph·1930·Haymarket

Central Railway Station from the Marcus Clark Building, c. 1930s

View of Central Railway Station from Marcus Clark's BuildingSam Hood
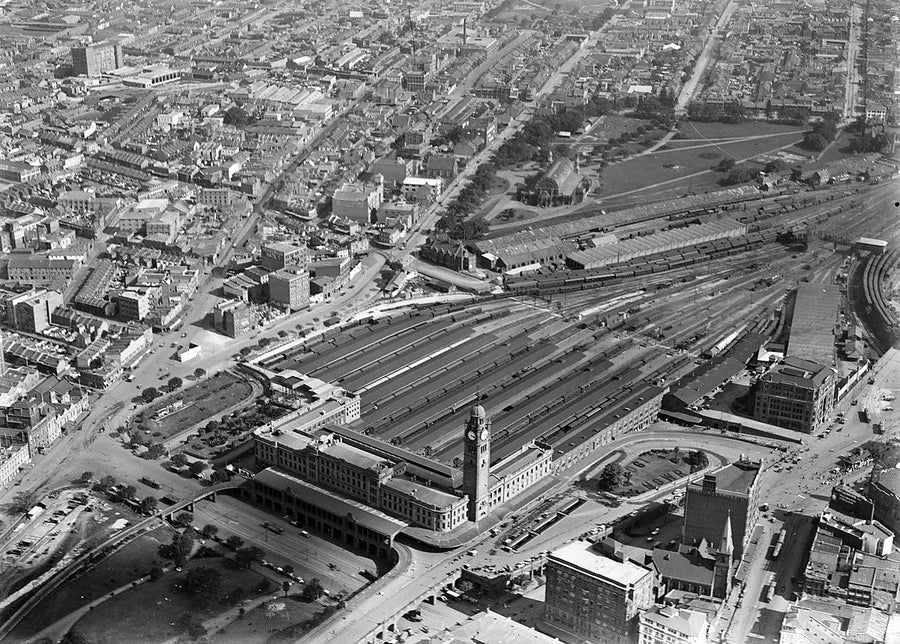
Central railway station, Sydney, from the air — photograph, from Haymarket, c. 1920–38
photograph·1920·Haymarket

Central railway station, Sydney, from the air, c. 1920–38

Milton Kent aerial views of SydneyMilton Kent
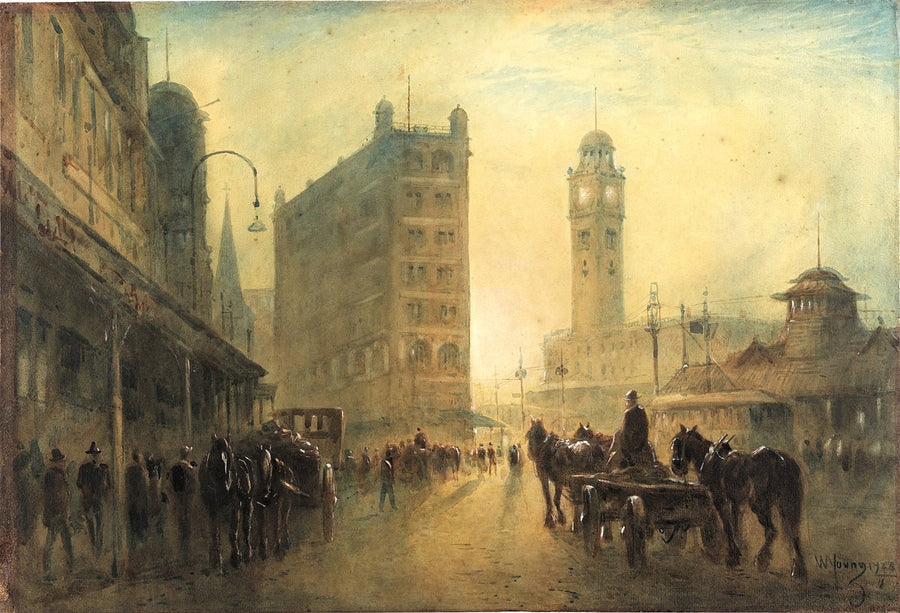
Central Station clock tower from Railway Square, Sydney — illustration, from Railway Square, 1923
illustration·1923·Haymarket

Central Station clock tower from Railway Square, Sydney, 1923

Central Railway Station at Railway Square, SydneyWilliam Young
City rooftops from Central Railway Station, Sydney — photograph, from Central Station, 1871–1920
photograph·1871·Haymarket

City rooftops from Central Railway Station, Sydney, 1871–1920

Redfern Railway Station and Central Railway Station, Sydney
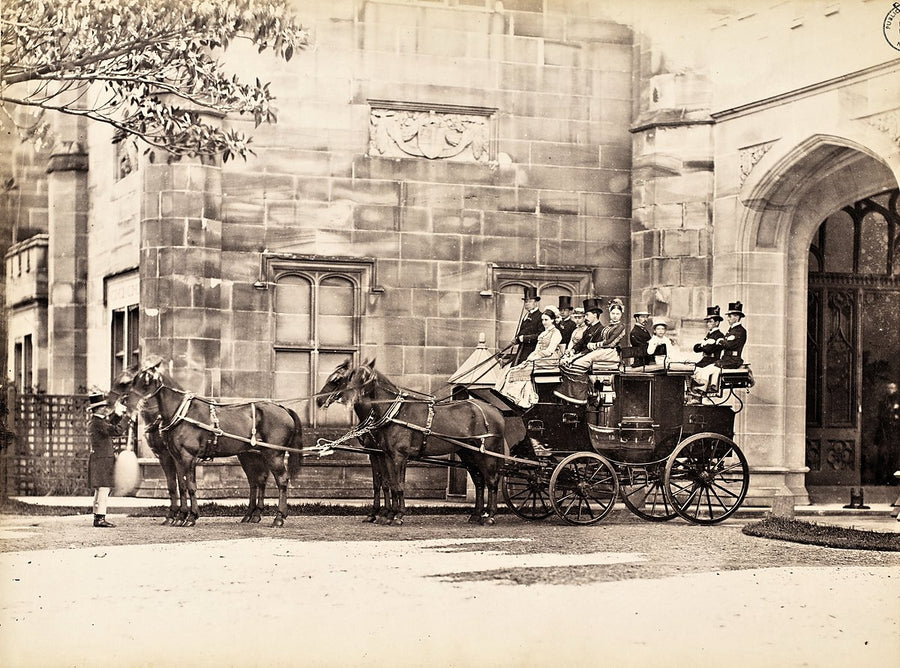
Coaching party at Government House, Sydney — photograph, from Government House, 1872–79
photograph·1870·Sydney CBD

Coaching party at Government House, Sydney, 1872–79

Views of Old SydneyCharles Bayliss; Freeman Brothers; John Rae (original drawings)
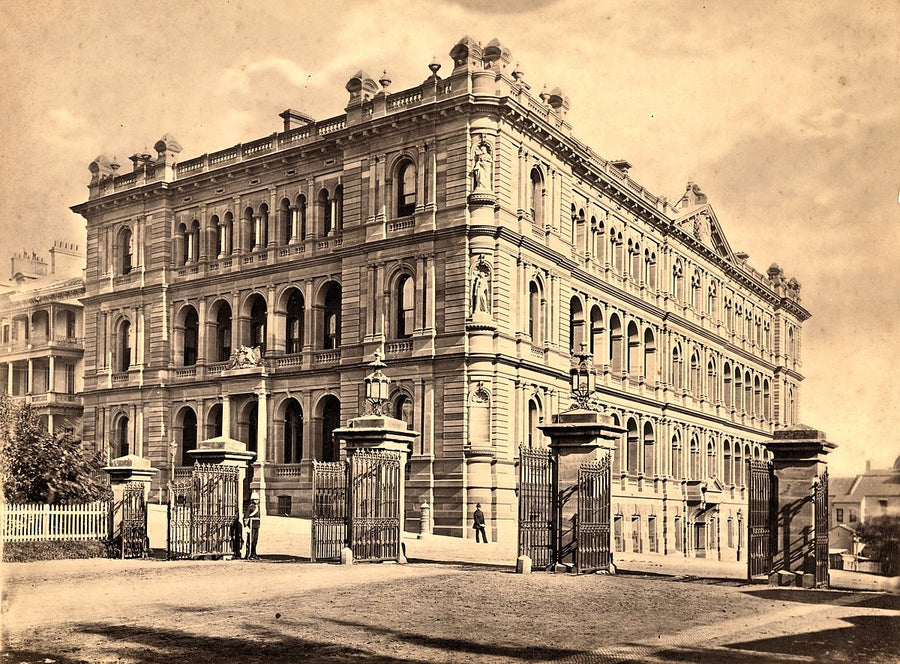
Colonial Secretary's Office at Macquarie and Bridge Streets, Sydney — photograph, from Chief Secretary's Building, c. 1879–80
photograph·1879·Sydney CBD

Colonial Secretary's Office at Macquarie and Bridge Streets, Sydney, c. 1879–80

Colonial Secretary's Office, Sydney
Colonial Secretary's Office, corner of Macquarie and Bridge Streets, Sydney — photograph, from Chief Secretary's Building, c. 1879–80
photograph·1880·Sydney CBD

Colonial Secretary's Office, corner of Macquarie and Bridge Streets, Sydney, c. 1879–80

Colonial Secretary's Office, Sydney
Colonial Secretary's Office, corner of Macquarie and Bridge Streets, Sydney — photograph, from Chief Secretary's Building, c. 1880s
photograph·1880·Sydney CBD

Colonial Secretary's Office, corner of Macquarie and Bridge Streets, Sydney, c. 1880s

Colonial Secretary's Office [Sydney] / C. Bayliss Photo, SydneyCharles Bayliss
Colonial Treasury, Macquarie and Bridge Streets, Sydney — photograph, from Macquarie Street, c. 1870–90
photograph·1870·Sydney CBD

Colonial Treasury, Macquarie and Bridge Streets, Sydney, c. 1870–90

Views of Old SydneyCharles Bayliss; Freeman Brothers; John Rae (original drawings)
Crowds on the concourse at Central Railway Station, Sydney — photograph, from Haymarket, c. 1927–29
photograph·1927·Haymarket

Crowds on the concourse at Central Railway Station, Sydney, c. 1927–29

Hood Collection part II, Box 042, nos. 052-072 : Trams, buses and traffic, Railway Square and Broadway; Express trains concourse, Central railway station; Shoppers on the steps, Mark Foy's; Christmas party, children's hospitalSam Hood
Crowds outside St Mary's Cathedral, Sydney, as a tram passes — photograph, from St Mary's Cathedral, 1898–1926
photograph·1898·Sydney CBD

Crowds outside St Mary's Cathedral, Sydney, as a tram passes, 1898–1926

Streetscapes including Circular Quay trams, Martin Place and G.P.O., St. Mary's Cathedral, Botanical Gardens and Harbour foreshoresFrederick Danvers Power
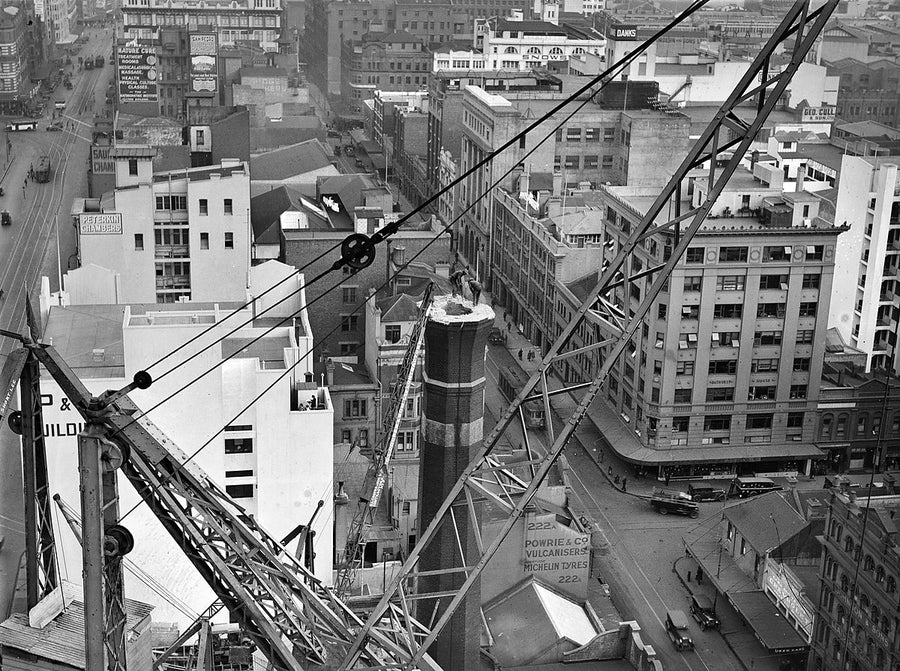
Demolition of Dixson's tobacco factory smokestack, Sydney — photograph, from 201 Elizabeth Street, 1932
photograph·1932·Sydney CBD

Demolition of Dixson's tobacco factory smokestack, Sydney, 1932

Hood Collection part II, Box 014, nos. 133-147 : Sydney viewsSam Hood
Department of Lands Building, Bridge Street, Sydney — photograph, from Sydney CBD, 1951
photograph·1951·Sydney CBD

Department of Lands Building, Bridge Street, Sydney, 1951

Sydney streets, August 1951
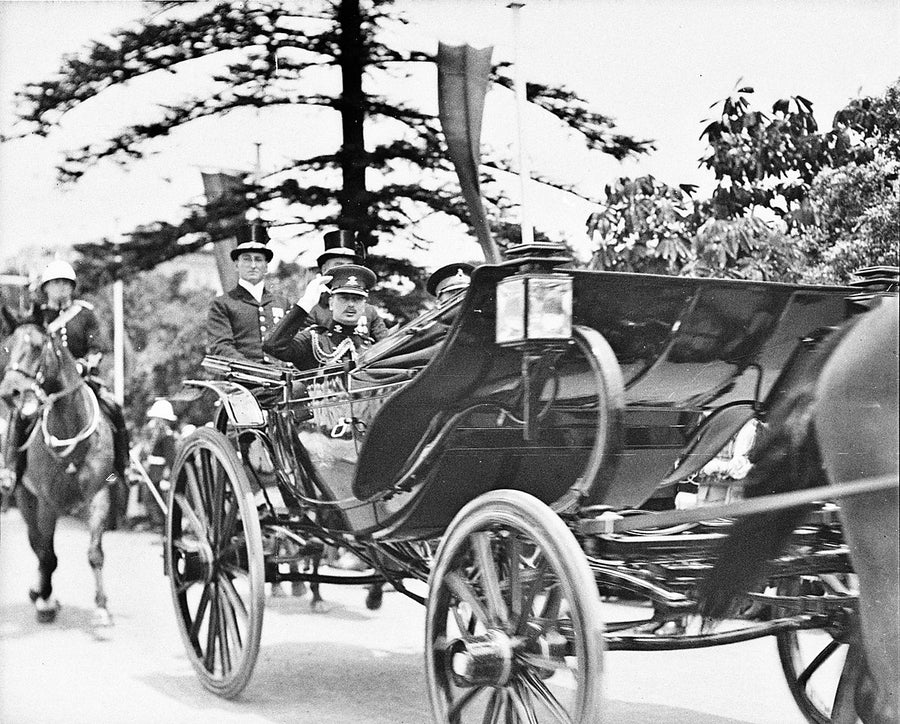
Duke of Gloucester saluting from a barouche, Government House, Sydney — photograph, from Government House, 1934
photograph·1934·Sydney CBD

Duke of Gloucester saluting from a barouche, Government House, Sydney, 1934

The Duke of Gloucester in SydneySam Hood
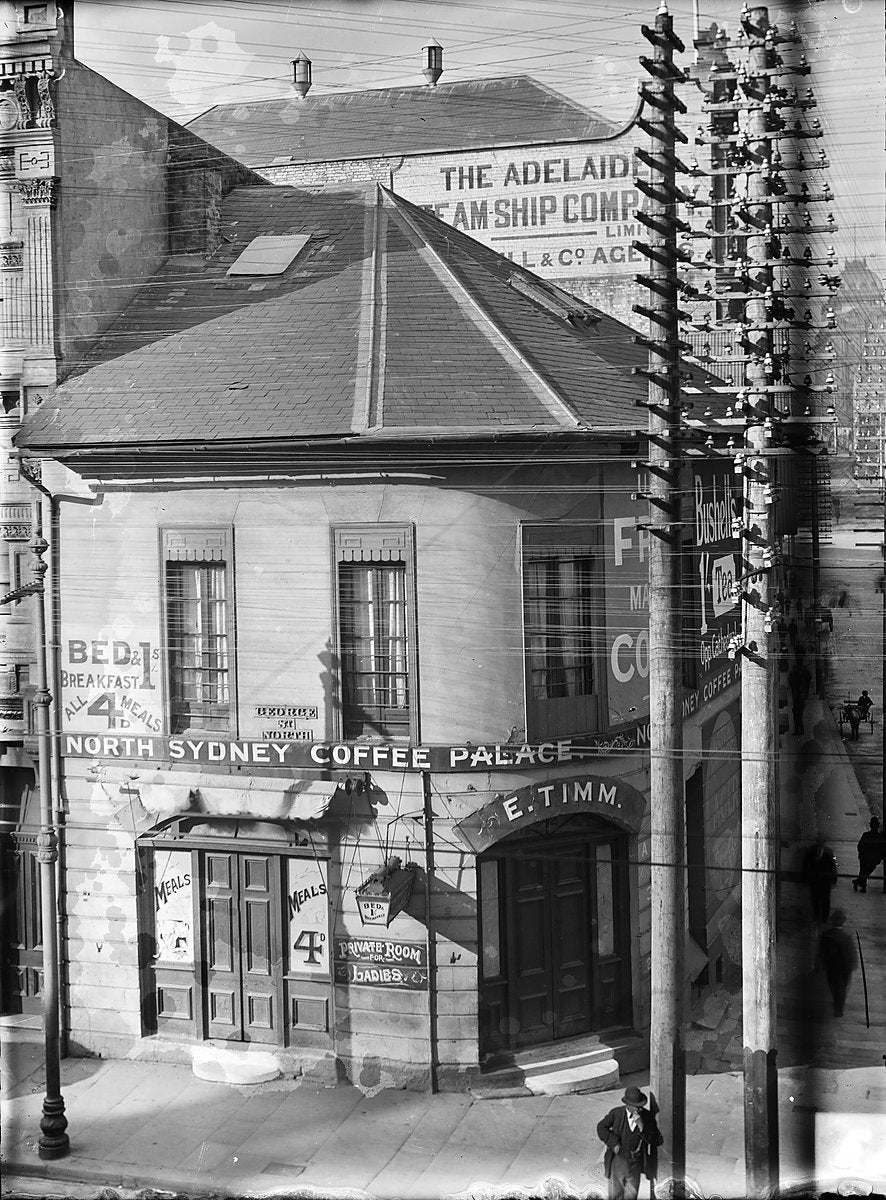
E. Timm's North Sydney Coffee Palace, George Street — photograph, from George Street, c. 1890–1905
photograph·1890·Sydney CBD

E. Timm's North Sydney Coffee Palace, George Street, c. 1890–1905

Royal Australian Historical Society : photonegativesMurrell & Co.
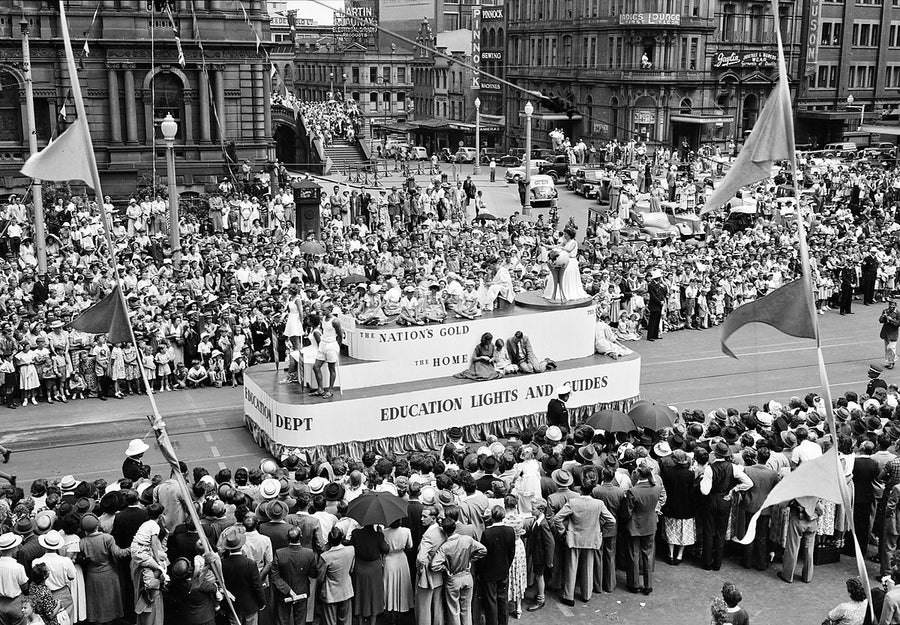
Education Department float in the Commonwealth Golden Jubilee procession, Sydney — photograph, from Sydney Town Hall, 1951
photograph·1942·Sydney CBD

Education Department float in the Commonwealth Golden Jubilee procession, Sydney, 1951

Hood Collection part II, Box 078, nos. 001-069 : Hardy-Watkins wedding; AWA paintings exhibit; Commonwealth Golden Jubilee procession; Clarence Miller wedding; Warwick Peet wedding; Rural valley; Portraits; Dog; Swampy landSam Hood
Elevated view over Railway Square, Sydney — photograph, from Haymarket, 1871–1920
photograph·1871·Haymarket

Elevated view over Railway Square, Sydney, 1871–1920

Redfern Railway Station and Central Railway Station, Sydney
Elizabeth Street and the railway cutting looking north past Mark Foys, Sydney — photograph, from Elizabeth Street, 1949
photograph·1949·Surry Hills

Elizabeth Street and the railway cutting looking north past Mark Foys, Sydney, 1949

Sydney
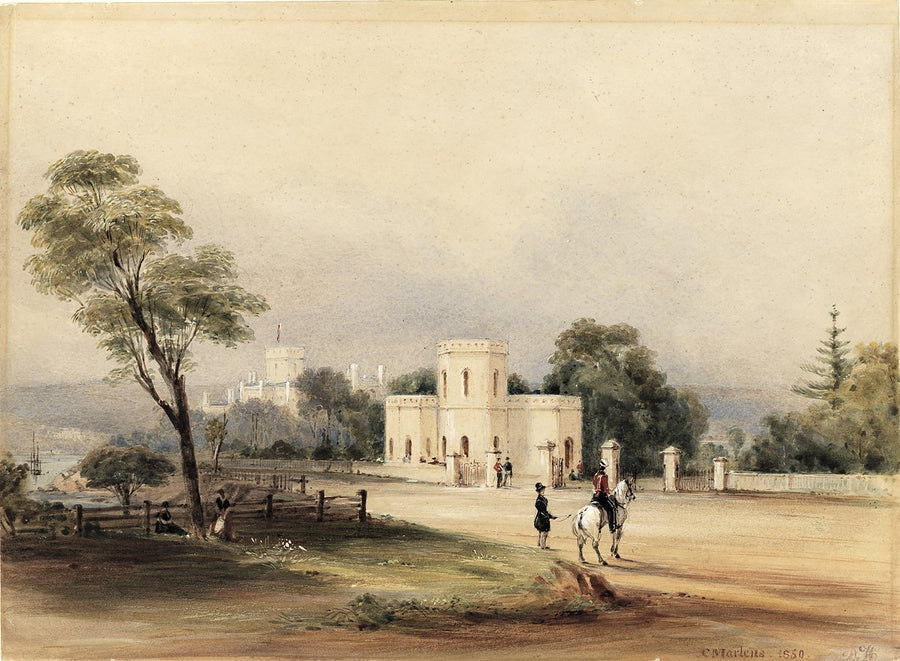
Entrance to Government House, Sydney — illustration, from Government House, 1850
illustration·1850·Sydney CBD

Entrance to Government House, Sydney, 1850

Entrance to Government House] / C. MartensConrad Martens